Showing posts with label customisation. Show all posts

Tuesday, 27 October 2015

Vibeui for lava iris x8(mtk 6592)

Presenting vibeui for lava iris X8
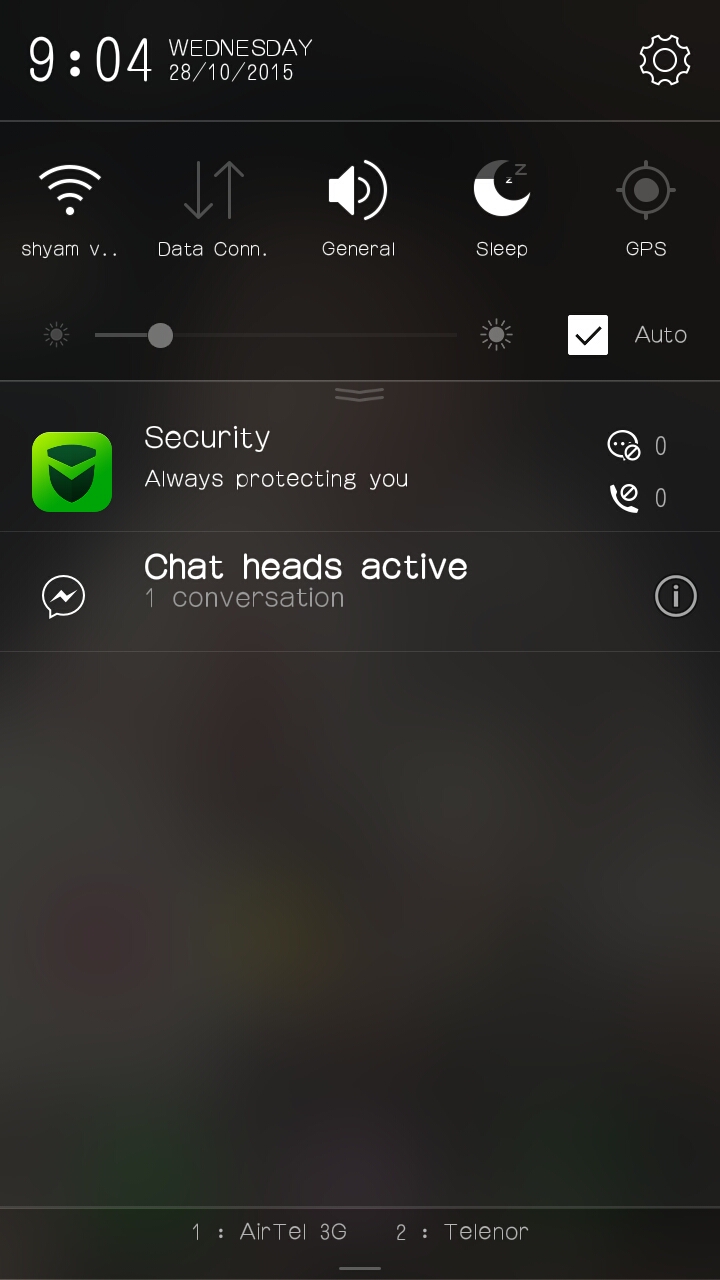
Features - gps working
             - One hand mode
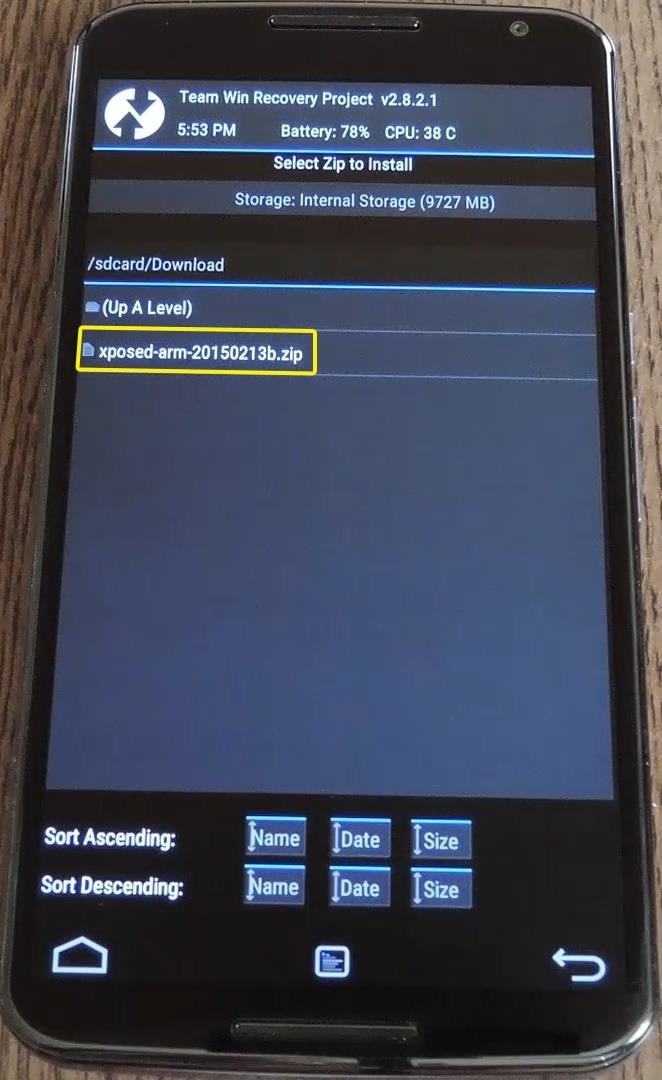
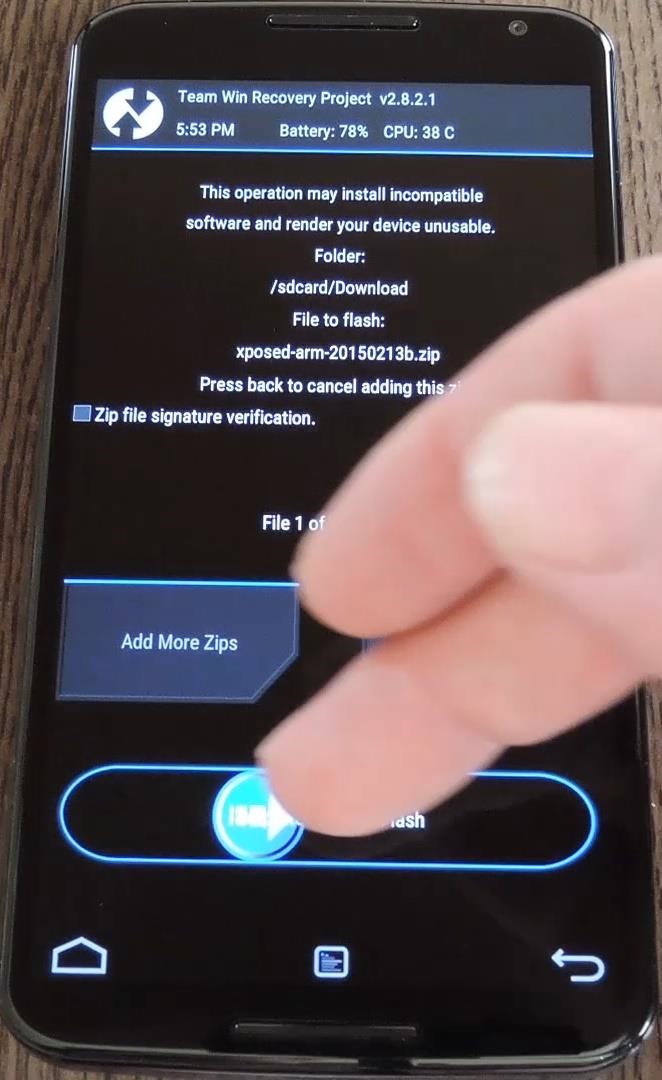
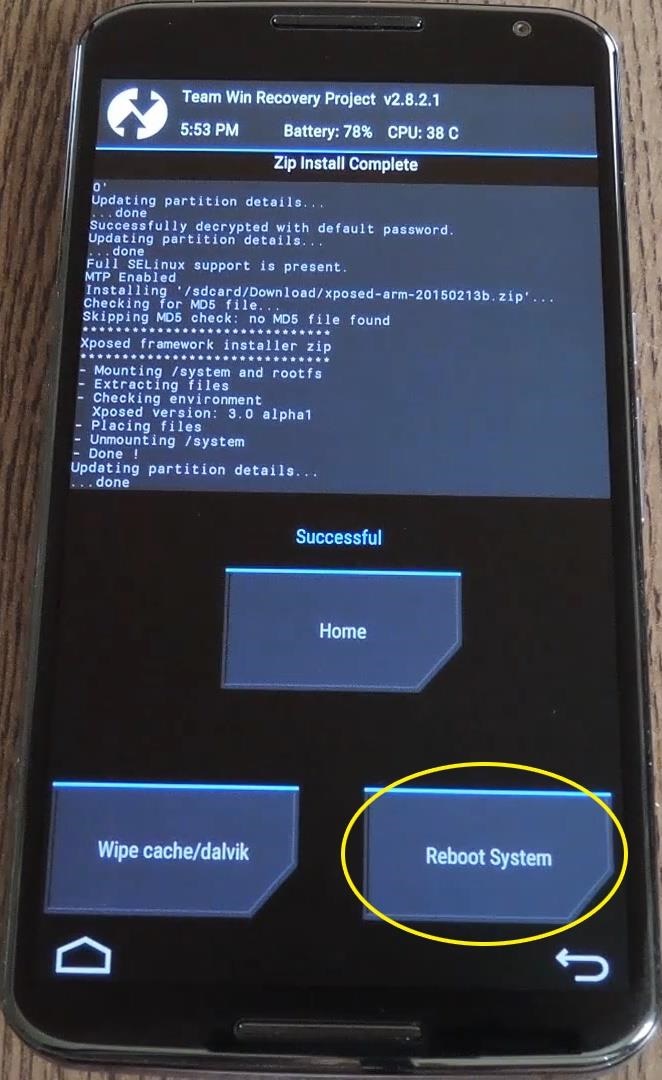
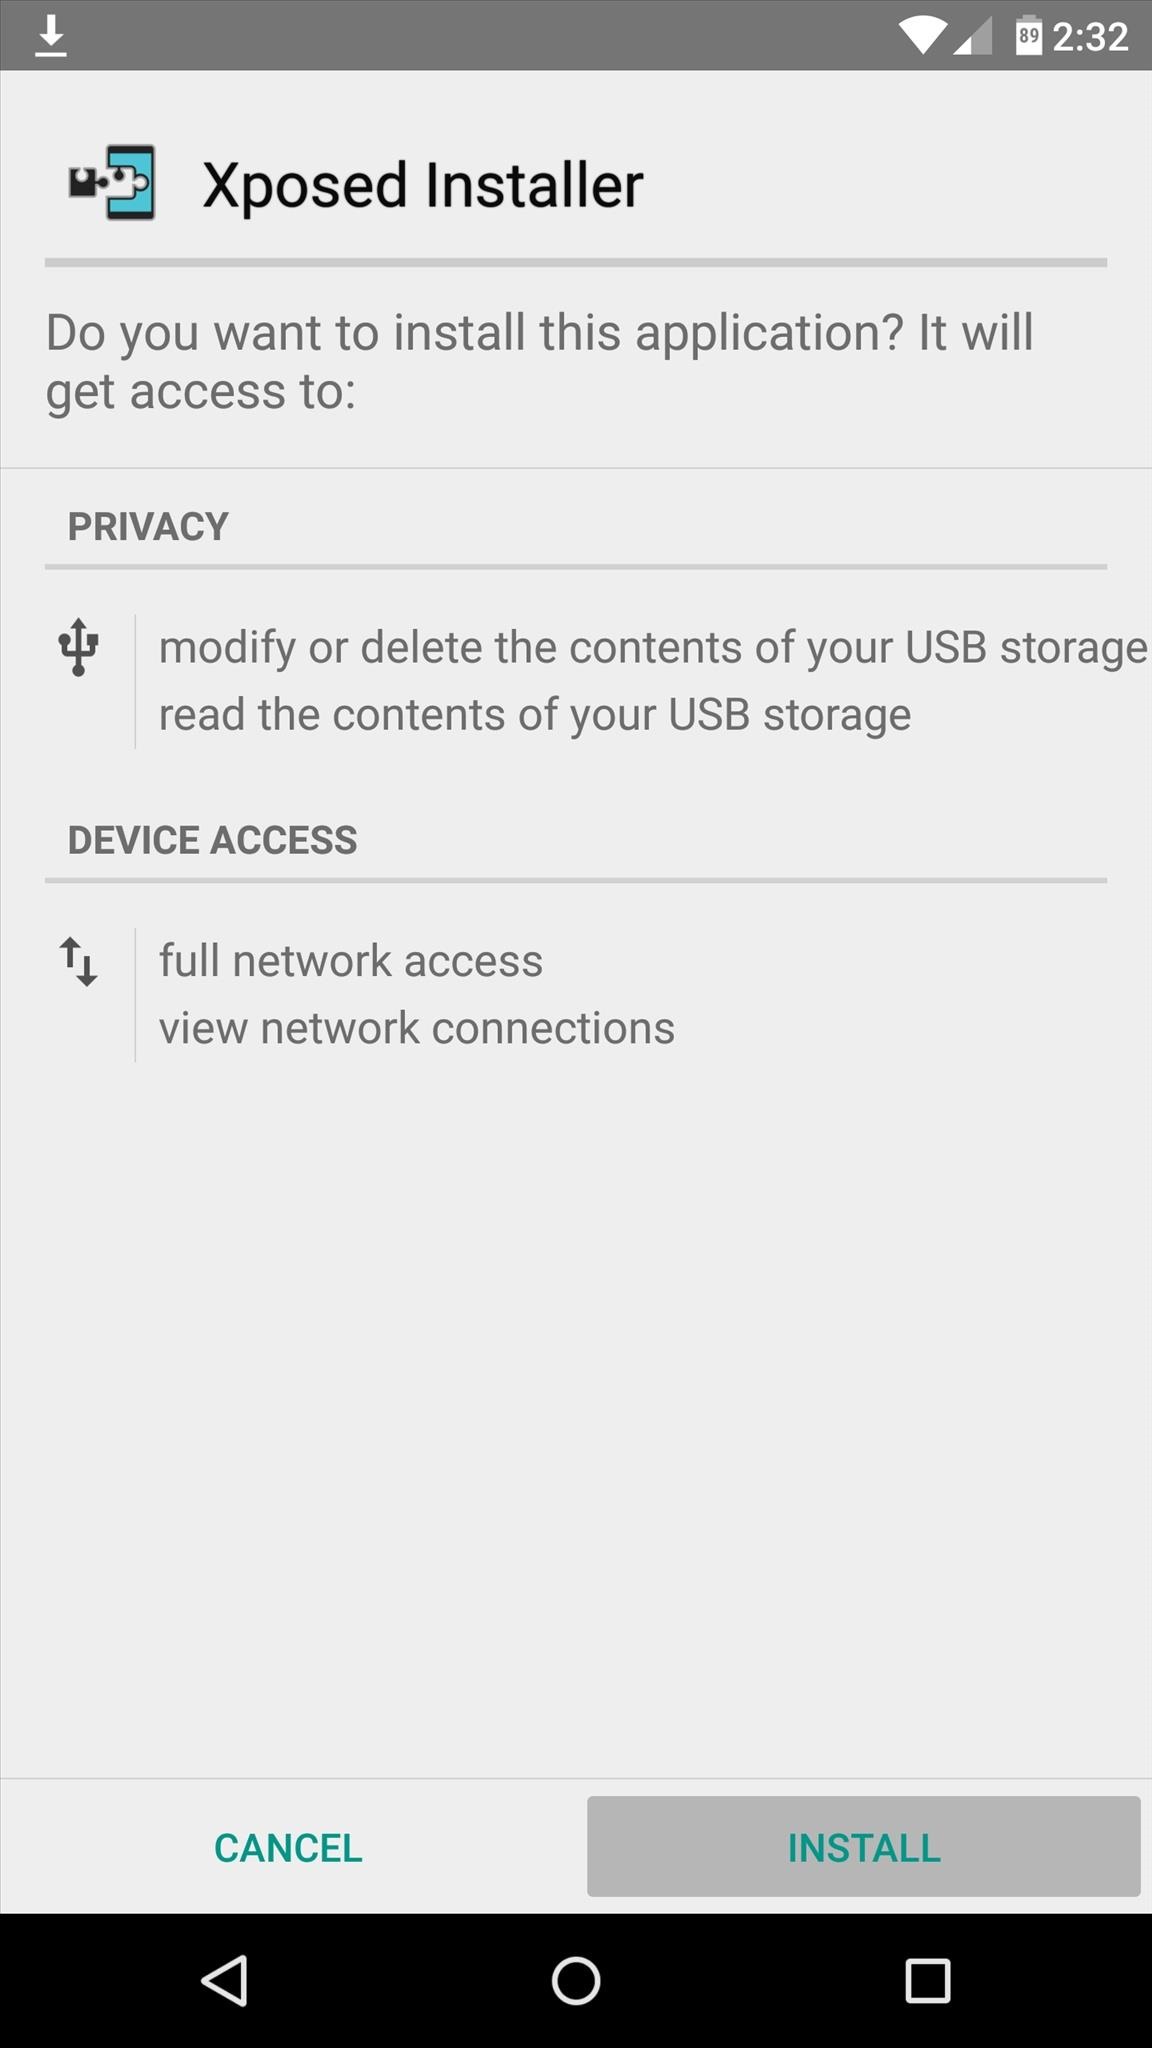
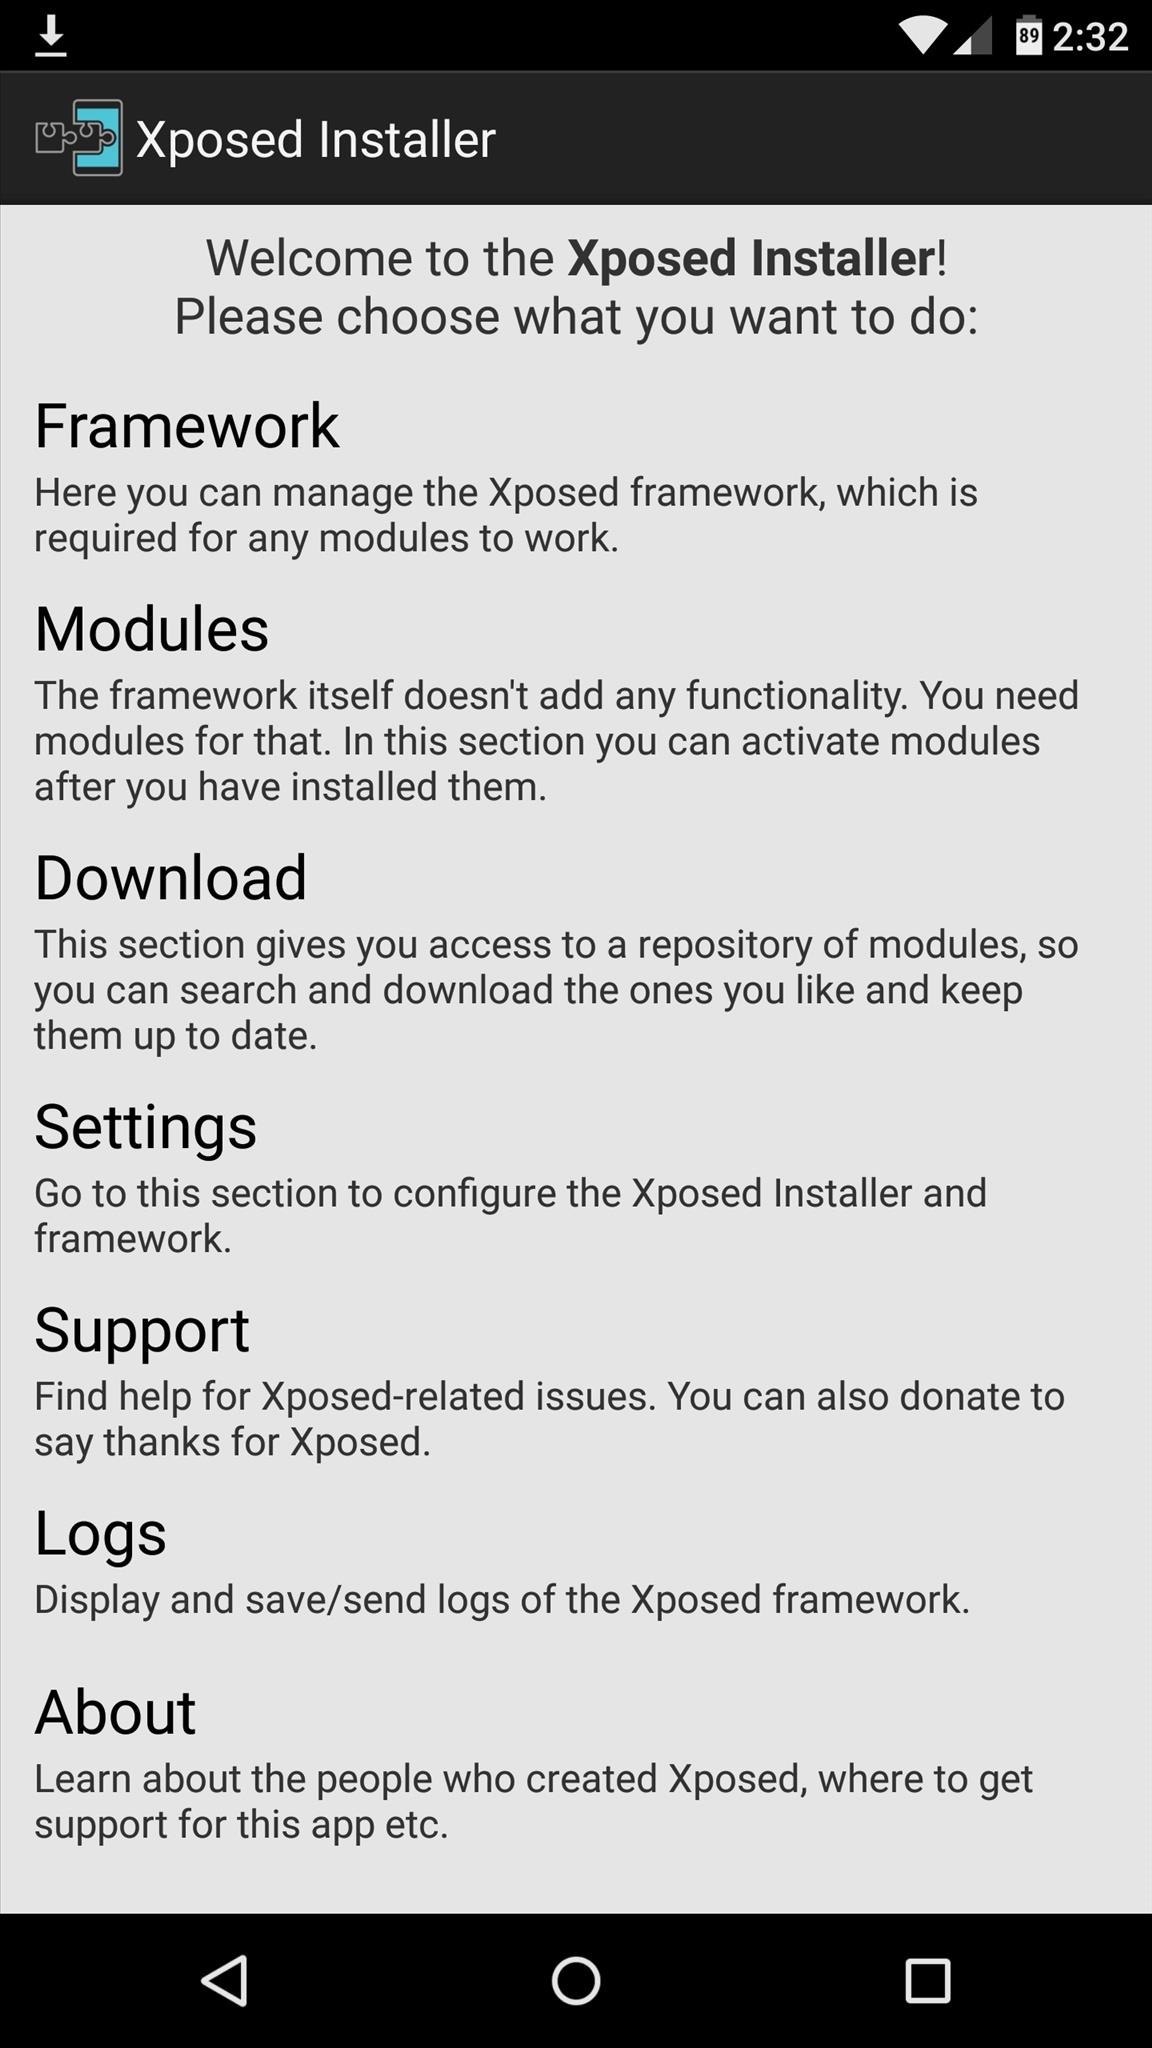
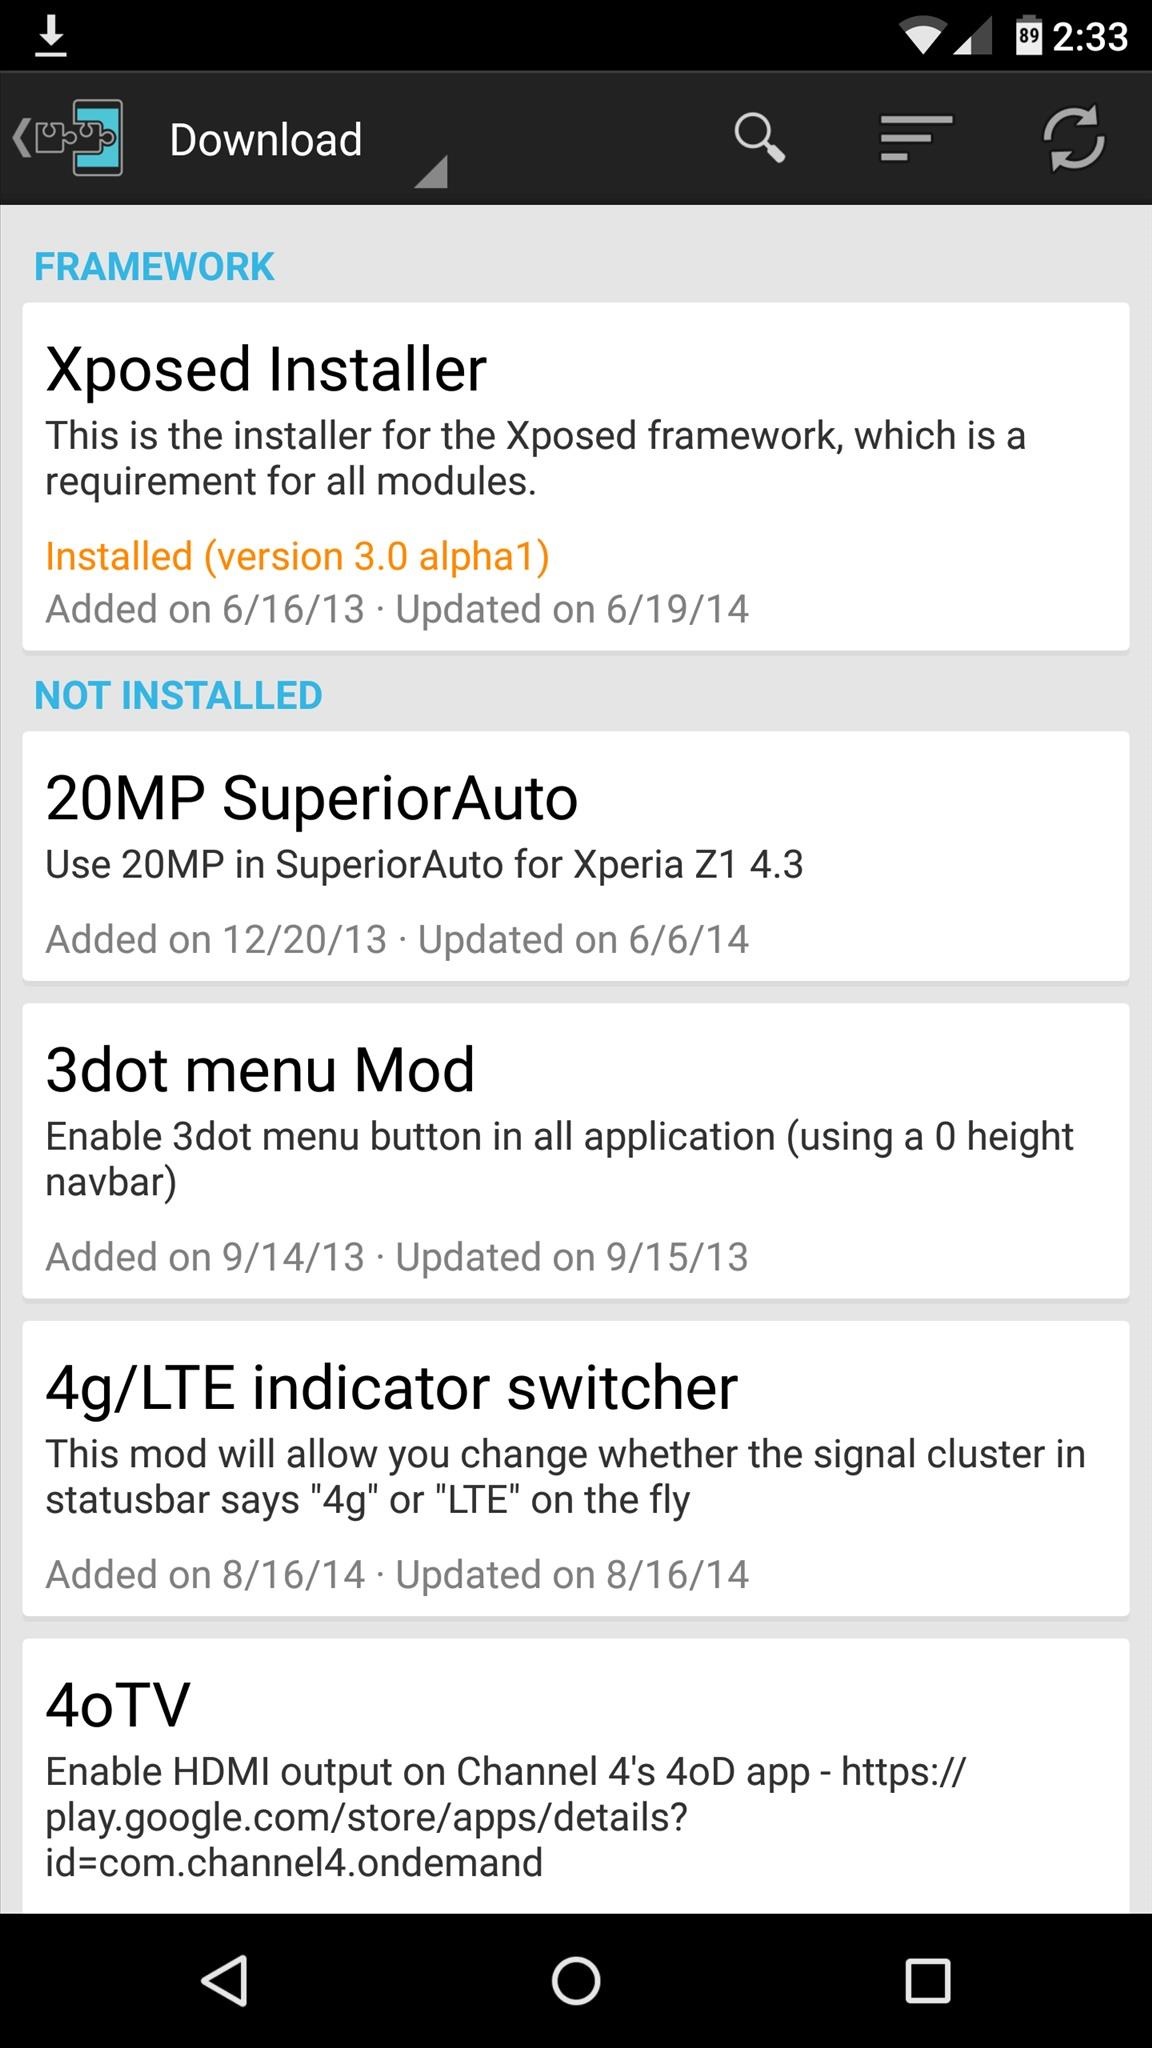
             - Preinstalled xposed,ifont
             - battery backup is best
             - vibexpert is preinstalled
             - sim1 3g and sim2 is 2g
             - and features of vibeui
            - sim toolkit working
Bugs - otg not support(source rom has no support of otg mmx310)
     - bluetooth not woking some times
Ps1 - by default storage is swapped for that go to settings/storage/and external storage as default it asks for reboot just reboot
Here's the link of rom
And it is not rooted preinstalled
   Just flash supersu zip after u flashed rom
Supersu.zip -
Credits - pinto thakur
         - rahil vaidhya
         - prashanth kumar
         - yazad madan
         - er kiranveer singh
         - selfish sopnil
         - shyam velchuri
       

Thursday, 13 August 2015

BlissPop Rom For LAVA IRIS X8 (MT6592)

Here is Another Cm Based BlissPop Rom For LAVA IRIS X8 MT6592 OCTACORE


PLEASE READ CAREFULLY FULL POST


Disclaimer

Team Bliss is not responsible in any way for anything that happens to your device in the process of flashing.
Please familiarize yourself with flashing and custom rom use before attempting to flash the rom.
Please make sure you download the correct version of BlissPop for your specific device. The links are labeled clearly.

Team Bliss is pleased to present to you BlissPop Rom!

BlissPop is one of the most highly customizable roms that you can install on your mobile device,
and we hope you have a truly blissful experience.
A huge thanks to CyanogenMod for the source and all the work and dedication their team puts in to keep us updated.
BlissPop is CM12.1 based, with some features added in from various roms,
and we will continue to update features as they become available.
We will keep up to date with the latest CM code, and updates will be posted on a regular basis.
However, please do not ask for ETA's. We will update the links as soon as they become available.

We will not tolerate any rudeness or anyone being disrespectful in this thread.
We will do our best to answer your questions or concerns as soon as possible.

Visit our website for features that include:
Member sign-up, staff information, all the latest rom downloads,
the option to open support tickets for issues & more!


Working

Fix Dual Sim
Fix Camera
Fix Video Recording
Sensor
Flashlight
Sensors
Sound
Bluetooth
IMEI detection
And Many More


Not Working

Gps & hotspot
Sim2 data


Features

Personalization Options

CM12 Theme Engine

Status Bar
-Clock & Date Options
-Battery Options
-Battery Bar Options
-SuperUser Indicator
-Bluetooth Indicator
-Brightness Control
-Mobile & Wifi Icon Options
-Notification & System Icon Options
-Network Traffic Monitor
-Breathing Notifications
-Bliss Logo Option
-Notification Count
-Wifi SSID in status bar (see Wi-Fi advanced options!)

Navigation & Button Options
-Set Navigation Ring Targets
-Backlight Brightness & Timeout
-Overflow Button Settings
-Navigation Bar Toggle
-Set Navigation Buttons, Layout & Dimension
-Double Tap to Sleep
-Power Button End Call Option
-Home Button Options
-Back Button Wake Up Option
-Menu Button Options
-Search Button Options
-Left-Handed Mode
-App bar incl. open app in floating window via long-tap

Recents Options
-Memory Bar
-Clear All Button Tweaks
-Clear All tasks
-Clear All Recents Location
-Option to show Google search bar in recents Menu
-OmniSwitch (Option to replace recents menu with Omniswitch)
-Open app in floating window

Notification Drawer
-Status Bar Header (Weather)
-Tile Options
-Flashlight Option
-Custom Color Tile Options (Set Background, Icons & Text)
-Quick Setting Options
-Quick & Smart Pulldown
-Brightness Slider Toggle
-Vibrate, Detailed Wifi View & Advanced Location Options
-SlimActions Tile
-Auto Close Panel
-Force Expanded Notifications
-Open app in floating window via long-tap and then floating icon

Heads Up Notifications

Lockscreen Options
-Long Press Lock Icon to Sleep
-Shortcuts
-Bottom Corner Targets
-Weather Options
-Customize Text & Icon Colors (incl. carrier label)
-Clock Widget Settings
-Music Visualizer Options
-Power Button Lock Options
-Lock Method Options

Power Menu Options
-Power Off
-Reboot
-One Click Reboot
-Screenshot (with delay option)
-Screen Record
-Profile Switcher
-Airplane Mode
-User Switcher
-Settings Shortcut
-Device Lockdown
-Sound Panel
-Flashlight

Gesture Anywhere
-Location Options
-Trigger Regions

Animations
-IME Animations
-Toast Animations
-Listview Animations
-System Animations
-Scrolling Cache
-Scrolling Modifiers

App Circle Bar
-Included Apps
-Trigger width, position and height

Sound Options
-Link Ringtone & Notification Toggle
-Media, Alarm, Ring & Notification Sound Options
-Volume Steps
-Volume Panel Timeout
-Interruptions
-Launch Music Apps
-Dial Pad Tones
-Screen Locking Sound
-Touch Sounds
-Charging Sounds
-Camera Shutter & Screenshot Sounds
-Safe Headset Volume
-Less Frequent Notifications
-Media Control
-Vibration Options

Display & Light Options
-Smart Cover
-Adaptive Brightness
-LiveDisplay
-Rotation
-Double Tap to Sleep
-Sleep Time
-Wake on Plug
-Cast Screen
-Expanded Desktop
-Daydream
-Font Size
-DPI
-Battery Light
-Notification Light with Per App Settings

Notification Manager
-Device Lock Options
-Block App Notifications
-Disable Persistent Info
-Priority App Notifications

More Stuff Included

Bliss Download Section
-All current downloads for your convenience

AudioFX Equalizer

-SuperSU - Huge thanks to @Chainfire
-BlissPop Wallpapers (via launcher’s Wallpapers)
-Home Launcher Option
-CM Camera
-User Profiles
-System Profiles
-Location Options
-Security Options
-Privacy Options
-Accounts & Sync
-Language & Input
-Backup & Reset
-Date & Time
-Accessibility
-Printing
-Developer Options
-Rom & Hardware Information
-Changelog
-Bliss OTA Updates


-Many other settings throughout the rom. Take some time to familiarize yourself with all the blissful options!
Screenshots


                                            GAPPS : LINK


DOWNLOAD  ROM LINK

CAMERA PATCH LINK

AUDIO PATCH LINK

LOW SOUND PATCH LINK

DOLBY : LINK

XPOSED LINK

SUPER SU LOVERS FLASH THIS : LINK

QUICK BOOT LINK

Sunday, 9 August 2015

ROM] IOS 8 ROM FIST EVER FOR MT6592 DEVICES OCTACORE


ROM  IOS 8 ROM
FIST EVER FOR MT6592 DEVICES
OCTACORE


Note: Read everything first before commenting or asking anything, otherwise, I’ll ignore you.If you have any concerns or you discovered new bugs, please kindly comment it here.

** NOTE **
Back up first! I'm not responsible if you brick your device or anything happens to your phone.

                                 
** ROM DETAILS**
- SINGLE SIM ONLY
- 95% Iphone 5 UI and Framework
- Rooted
- Powered by Viper4AndroidFx
- Built in Xposed
- Built in Gravitybox
- Built in Ayfone Gece Modu
- Smooth Interface
- IOS8 Ringtone and Notification sounds
 **KNOW BUGS FIXED **
- SD card can't read (FIXED)
- Camera Flash not working (FIXED)
- Changing Wallpaper FC (FIXED)
- Gravitybox not working (FIXED)
- Internal storage can't read (FIXED)
- Overheating while charging on screen off (FIXED)
THAT’S ALL FIXES I CAN DO (YOU CAN SEARCH FOR OTHER BUG FIXES)

** Known Bugs  **
 - Inaccurate Internal / Storage
 - let me know if there’s any

DOWNLOAD LINKS
SOON
COMMENT BELOW IF U WANT THIS

DOWNLOAD LINKdevice tHE ROM link

do not try flashing this till i upload the patches

u may brick the device

Flash this patch !!!! For booting the ROM
Link

Tweaks link

Saturday, 18 July 2015

HOW TO FLASH A ROM USING CTR RECOVERY

HOW TO FLASH A ROM USING CTR RECOVERY

If you fear of bricking your device then make a backup by going into 'Backup and Restore' option and click on Backup. It will backup your whole system files with data except SD Card data.
How to Flash Custom Roms on Gionee M2 using CTR Recovery | With Screenshots

Click on Wipe Menu and then click the first one Wipe Preflash to format system, data and cache files. After they are done, swipe left to go back.How to Flash Custom Roms on Gionee M2 using CTR Recovery | With Screenshots


Now, tap the custom rom zip which you want to install.

How to Flash Custom Roms on Gionee M2 using CTR Recovery | With Screenshots
The rom will start to install.

How to Flash Custom Roms on Gionee M2 using CTR Recovery | With Screenshots

 After installation, you will see this.
How to Flash Custom Roms on Gionee M2 using CTR Recovery | With Screenshots
Now, swipe left to go back to main screen and click 'Reboot the phone'

How to Flash Custom Roms on Gionee M2 using CTR Recovery | With Screenshots

After reboot, you will see Boot Animation of the Custom rom you just flashed.

How to Flash Custom Roms on Gionee M2 using CTR Recovery | With Screenshots
voila u flashed a custom rom

Thursday, 16 July 2015

making any rom lag free

How to make your low end devices lag free and lightning fast.

HERE IS A SIMPLE BUT THE MOST EFFECTIVE WAY TO DO SO:

INSTRUCTIONS

Download this simple app from the link here (xda version) or here
if u liked the app plz buy it from here

(thanks t its developer)
and modify as shown below 

  Seeder Kills Lag in Android, Seriously Boosts Your Phone's Performance

Wednesday, 15 July 2015

XPOSED FOR LOLLIPOP (CM 12.1 AND BASED ROMS)

XPOSED FOR LOLLIPOP (CM 12.1 AND BASED ROMS)


Step 1: Download Necessary Files

There are two core elements to Xposed—one is the Xposed Framework, which lays all of the groundwork, and the other is the Xposed Installer app, which allows you to download and manage modules. First up, grab a copy of the Installer from the following link:
In these early stages of Lollipop development, the Framework will have to be flashed in custom recovery. There are 3 different version of the Framework, and they each correspond to a different type of processor (ARM, ARM 64, x86). If you're not sure about the type of processor your Android device uses, check the spec sheet on a site like GSMArena, then download the corresponding ZIP file from one of these three links:

Step 2: Boot into Custom Recovery

When the files have finished downloading, the next step is to boot into custom recovery. To do that, start by powering your device completely off. This next part may vary, but for most devices, press and hold the volume down and power buttons simultaneously.
This will bring up Android's Bootloader menu. From here, use the volume down button to highlight "Recovery mode," then press the power button to select it.

Step 3: Install the Framework in Custom Recovery

Before you flash anything in custom recovery, it's always a good idea to make a full NANDroid backup. That's extra important in this case, since the Xposed Framework is in its early stages and may cause issues with some devices. Do not skip this step!
Then, to get started, go ahead and tap the "Install" button from TWRP's main menu. Next, navigate to your device's Download folder, then select the Xposed ZIP file that you downloaded in Step 1.
After that, just swipe the slider at the bottom of the screen to install the Framework, and when that's finished, tap "Reboot System."
Your device will take longer than normal to boot up here. This is because the Xposed Framework ZIP had to clear away some library files, which will need to be restored. Expect this process to take at least 10 minutes.

Step 4: Install the Xposed Installer App

When you get back up, it's time to install the actual Xposed Installer app. Tap the Download Complete notification for the "XposedInstaller_3.0-alpha3.apk" file, then press "Install" and "Open" on the next two menus.
At this point, you should be looking at that familiar Xposed interface we all know and love. Head to the "Download" section to begin browsing modules, but keep in mind that some may not work on Lollipop.

Thursday, 9 July 2015

CyanogenMod 12.1 for lava iris x8


CyanogenMod 12.1 Status:

Working:
- RIL: Telephony (Calls / etc) (2G and 3G) (In Both SIMs)
- ART
- Sensors
- LED's
- Rear Camera ( pictures )
- Front Camera ( pictures )
- FlashLight
- Sound
- Bluetooth
- Wifi
- Microphone (For Calls and in some apps)
- Data connection
- CyanogenMod related features (Theme Manager, etc ... )

Not Working / Needs Improvements :
- GPS
- Camcorder ( You can use 3rd party video recording apps from Play Store)
- USSD codes. only works in some Providers
-wifi looses password sometimes
-no fb calling and google voice search
other bugs tell me


Single / Dual SIM Behavior :

On Dual-SIM (when using both SIM slots) :
3G Will be forced to Slot 2 (Depending on your SIM Provider)
Data connection will only properly work on Slot 2 (Depending on your SIM Provider)

On Single-SIM (when using only one SIM slot) :
You can toggle between 2G / 3G just fine
Data connection will work just fine

Also when in Single-SIM and to avoid bugs with Data connection
Change this line in build.prop (/system):
Code:
persist.radio.multisim.config=dsds
to
Code:
#persist.radio.multisim.config=dsds


Flash Instructions:
Backup, Backup, Backup ...
You need to be on the Unofficial KitKat Base (due to the new KK partitions)
Put the zip file on external SDCard
Flash with ctr recovery for iris x8
Full Wipes
Flash Rom
Flash minimal GAPPS 5.1
Enjoy
 ** note : install xinternalsd and xposed after flashing cm12.1 rom to avoid bugs 
xinternalsd:- https://drive.google.com/open?id=0B5...DBRcjFGc09mNU0
xposed :-http://mylavax8.blogspot.in/2015/07/xposed-for-lollipop-cm-12.html

Friday, 19 June 2015

Making Our device a bit better

*Thanks to slad480

Features 

- Full memory management.
-Linux kernel tweaks and improvements for better performance and battery life.
- Entropy generator engine used to reduce lags.
- Zipalign apps in "/system" and apps in "/data" every 48 hours which result in less RAM usage.
- Sqlite optimizations and faster database access.
- CPU governors tweaks and improvements for better performance and battery life.
- Increased SD Card read-ahead cache to 2048 KB .
- Ad blocking.
- Build.prop tweaks and improvements.
- Cleans log files and tombstones at every boot.
- Many other tweaks for better performance and battery life!


How to install :

Before Flashing please do a nandroid backup to avoid any incompatibility issues.
1. Download the Fly-On Mod main pack and sqlite pack according to your phone's Android version.
2. Rebooting into recovery mod.
3. Install Signed_Fly-On_Mod_V4.0-Alphax.zip and sqlite_xversion.
4. Reboot and feel the smoothness!


link to flashable zip
orignal xda thread http://forum.xda-developers.com/showthread.php?t=2226373
* I M NOT RESPONSIBLE FOR BRICKED DEVICES

Wednesday, 3 June 2015

CUSTOM RECOVERY FOR MTK DEVICES

Custom CWM Recovery For MTK


CWM RECOVERY For Micromax, Karbonn, ZTE, Huawei, Dogee, All Samsung Clones, All iPhone Clones and all MTK Devices

THINGS YOU NEED :  
  • A MediaTek android device (MT65XX) 
  • Your phone must be rooted already: HOW TO ROOT
  • USB Chord.
  • Windows PC/Laptop.
  • For ADB Drivers : Download pdanet+

TOUGH WAY (if u don't trust me)

MTK DROID TOOLS DOWNLOAD : MTK DROID TOOLS
How To Flash ClockworkMod (CWM) Recovery on Any MediaTek (MT65xx) Android Device :


1. Download necessary files above.

2. Install the downloaded PDANet to your computer. It contains ADB Drivers.

3. Turn on your android device and connect it to your computer using USB Chord. (Make sure to Enable USB Debugging, go to phone Settings -- Developer Options -- Enable USB Debugging.)

4. From your computer, open MTK Droid Tools that you have downloaded above and extract it to your desired location.

5. Open MTK Droid Tools.exe from the extracted folder (Run as administrator). Wait for the tool to detect your device. (If UBIFS warning appeared in the status message, this process will not work for you. Only ext4 supported.). Notice on the bottom-left part of the tool, a YELLOW color indicator means that your android device is does not have root shell yet. If it is GREEN already, proceed to step 7.

6.  Click ROOT button to enable root shell your device. Wait for the progress bar on the Status, see your phone to Grant Superuser access. If the color indicator turns GREEN, then you have successfully enabled root shell for your device.

7.  Now, select the Root, Backup, Recovery tab and and further choose To Use Boot From Phone from the selections. Click Recovery and Boot, a message prompt will appear "To make CWM recovery automatically", click YES.

8. Wait for the tool to build the CWM recovery and another prompt will appear "install patched boot to phone?" select NO, wait a little bit more and another prompt will appear again "install created recovery to phone", now select YES.Auto Insurance

9. When the tool ask you to reboot your phone to recovery, click Yes and it will reboot to CWM recovery shortly. Check out your new custom recovery.Auto Insurance

Congratulations! You now have ClockworkMod custom recovery on your MediaTek android device.

EASY WAY (DONE BY ME)


THINGS YOU NEED :  
  • A MediaTek android device (MT65XX) 
  • Your phone must be rooted already: HOW TO ROOT
  • Mobile uncle tools

How To Install CWM Recovery on Lava Iris x8 and other Mtk devices

  • Download the file named recovery.img
  • Transfer the recovery.img file to the root of your phone memory via USB data cable
  • On your phone, download and install Mobileuncle Tools from the Play Store
  • Launch Mobile Uncle Tools. When it requests for Root Permissions, tap Grant
  • You should now see the Main Menu in Mobileuncle Tools
  • Tap Recovery Update
  • The app will scan your phone and list the recovery.img file you transferred to your phone earlier
  • Tap the recovery.img option. You should now see a dialog box asking you if you’re sure you want to flash the recovery. Tap OK
  • At this point, your phone may seem unresponsive. Just be patient and let the tool flash the recovery image. Once the flashing is complete, you should see another dialog box asking you to reboot to recovery, Tap OK
    image: http://cdn6.dottech.org/wp-content/uploads/2014/03/Flash-recovery-via-Mobileuncle-Tools-620x310.jpg?e55e40
    Flash recovery via Mobileuncle Tools
  • Your phone should now reboot into CWM Recovery
That’s it!! You have successfully installed CWM Recovery on your rooted Micromax Canvas 4 A210, and are all set to check out custom ROMs on your rooted device. Enjoy!!