Showing posts with label recovery. Show all posts

Friday, 31 July 2015

[ROM] MIUI v6 5.7.16 for lava iris x8 (mt6592)


[ROM] MIUI v6 5.7.16 for lava iris x8 (mt6592)
Features
Rooted
FM Radio Working
Bluetooth Working
Mi Themes, fonts, wallpapers
Miui 6 Boot animation
Stable as Rock
Smooth as butter
MIUI ROM 5.7.16 Full Changelog
[System]
Optimization - Adjusted One-handed mode title color (07-13)

[Contacts]
Optimization - When adding new contacts in Global version, IM default icon became Skype (07-08)

[Messaging]
New - All notification messages are collected into one folder (India) (07-15)

[Lockscreen, Status Bar, Notification Bar]
Optimization - Display height of lockscreen notifications (07-08)
Fix - Sometimes, prevent misoperation panel appeared incorrectly (07-06)
Fix - Sometimes prevent misoperation mode did not work (07-06)
Fix - Sometimes, pressing lockscreen notification did not lead to the corresponding app (07-08)
Fix - Lockscreen notifications could not display dynamic icons (07-13)
Fix - Sometimes notification shade could not be pulled down (07-13)

[Gallery]
New - Allow downloading cloud album photos using mobile data (07-13)
Fix - Slowness in finding projection devices (07-13)
Fix - Incorrect album covers (07-15)

[Music]
New - Support amr type music files (07-13)
New - Mi Sound Enhancer supports Mi Headphones and Mi Piston Youth Edition (07-13)
Optimization - Reduced Music app launching time (07-13)
Optimization - Reduced occurring times of 'Not enough memory' error (07-13)
Fix - High quality audios could not be downloaded (07-13)

[Settings]
New - Added animation introduction for one-handed mode settings (07-06)

[Calendar]
Optimization - Optimized smoothness of swiping left/right in Monthly view (07-07)
Fix - Calendar might FC when several reminders rang at the same time (07-07)

[Data Usage]
New - Added the feature to recommend to optimize apps so that a large amount of data can be saved (07-03)
New - Data saver supports setting image compression ratio (07-03)
Optimization - Optimized RAM usage (07-03)
Optimization - Optimized daily data usage limit strategy for the last day of a month (07-03)
Optimization - Allow setting data usage limit for lockscreen notifications, and a threshold will be recommended according to the data plan (07-10)

[Blocklist]
New - Support blocking numbers according to the times it has been reported (07-13)

[Notes]
Fix - Inserted images width displayed incorrectly in Mi Note Pro (07-10)

[Clock / Calculator]
Optimization - Ascending volume interval was changed from 5 seconds to 2 seconds (07-08)
Optimization - Alarm clock max auto-silence time was changed to 10 minutes (07-08)
Fix - Sometimes alarm clock could not be turned off (07-08)
Fix - Stopwatch might keep the screen awake (07-15)

[Cleaner]
New - Support deleting duplicate photos from Gallery (07-14)


Download Links: ROM
Google drive link
Thanks to Shyam for uploading it... ROM

must flash patch !!!!!!! if u dont then U MAY CORRUPT THE SYSTEM FLASH THIS AFTER FLASHING THE ROM !!!!!! !!!! 

 PATCH 1 LINK

PATCH 2 LINK

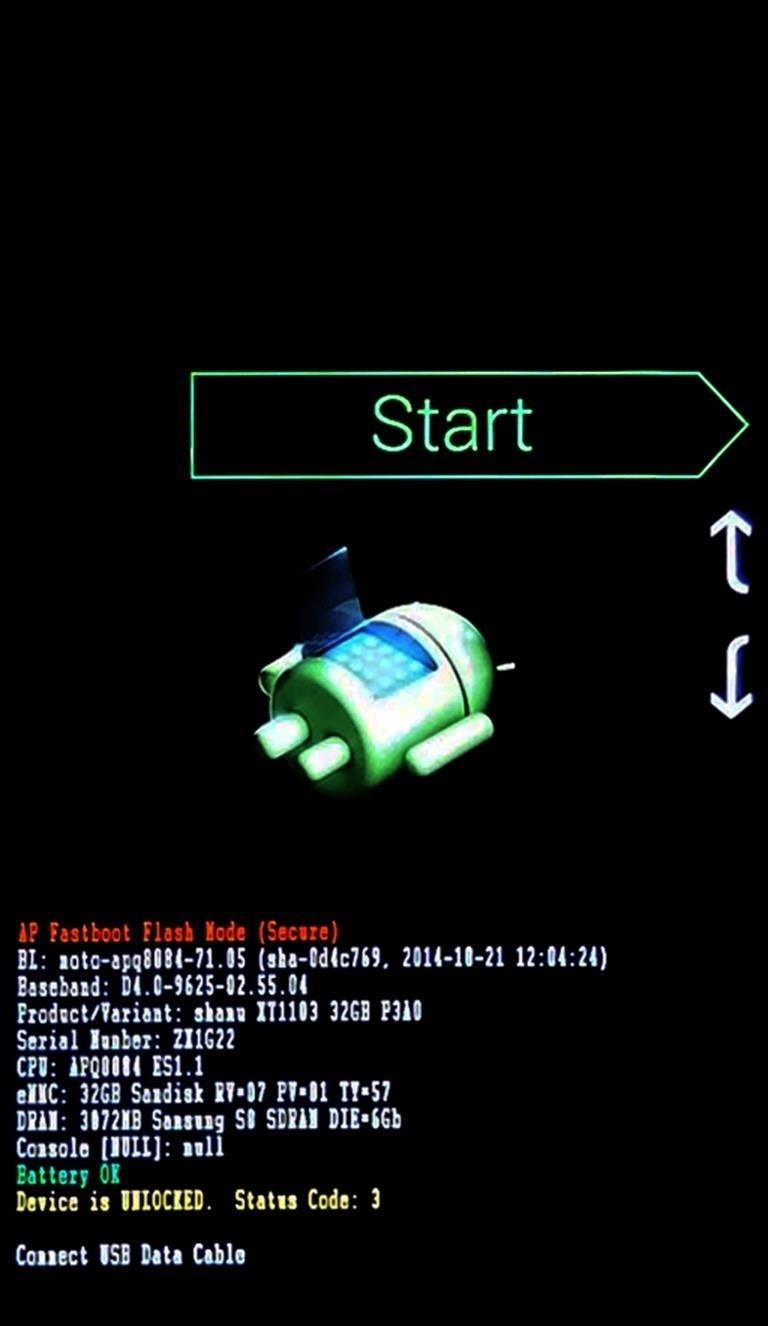
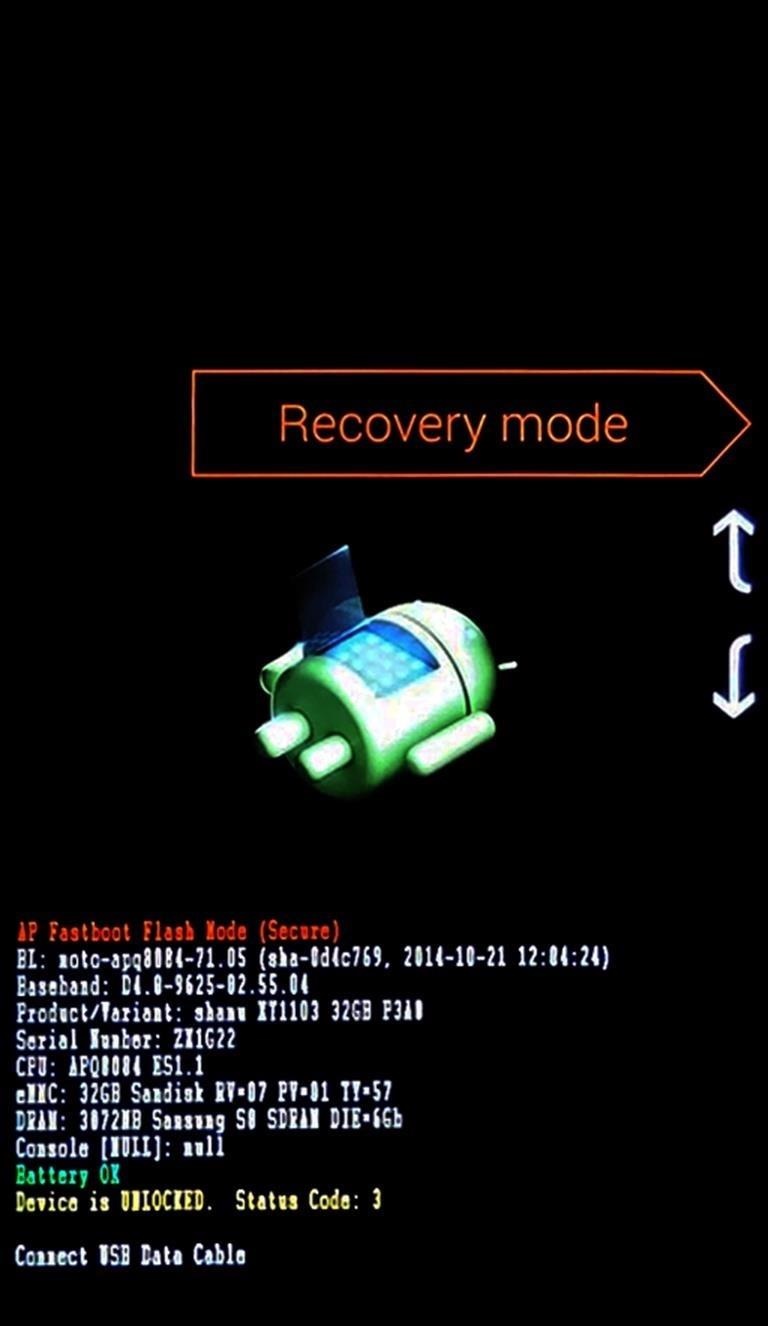
for rooting use kingroot or flash this : link

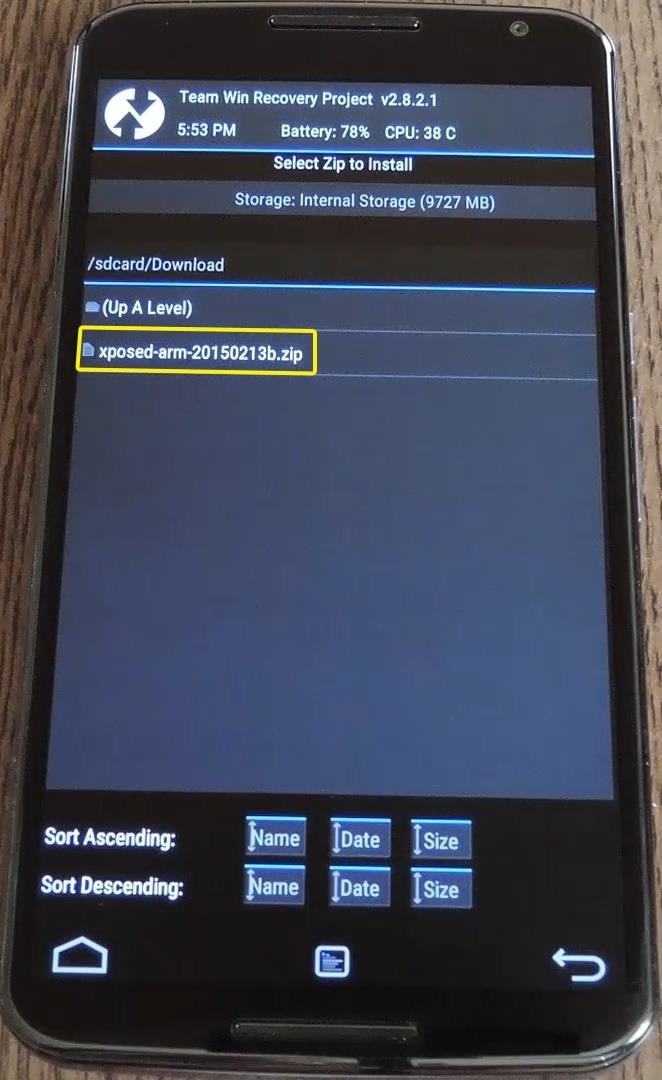
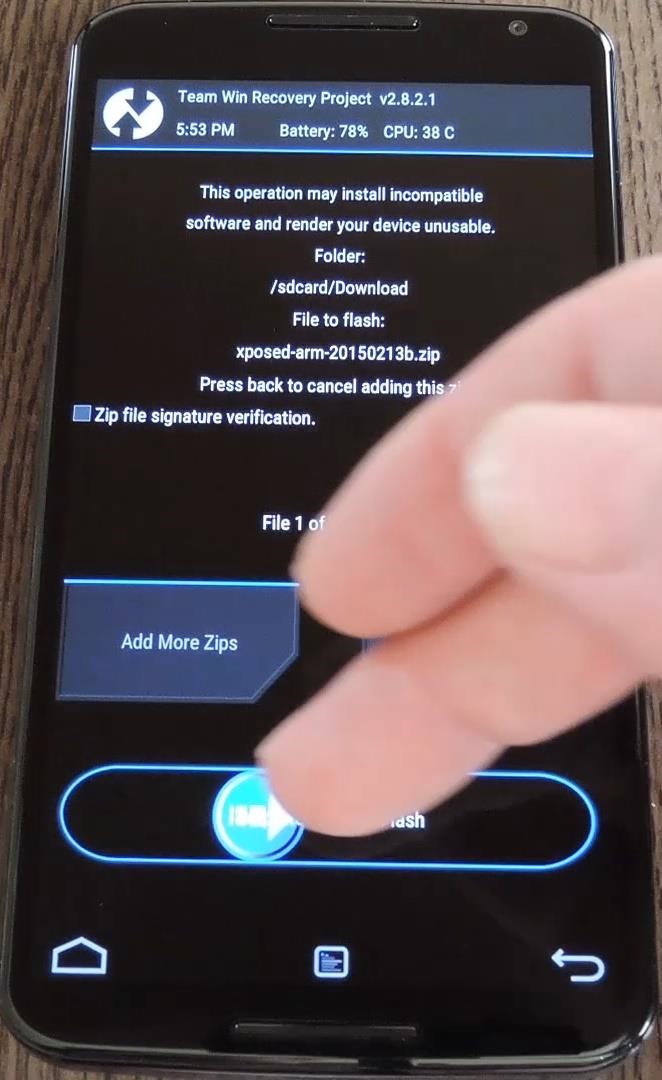
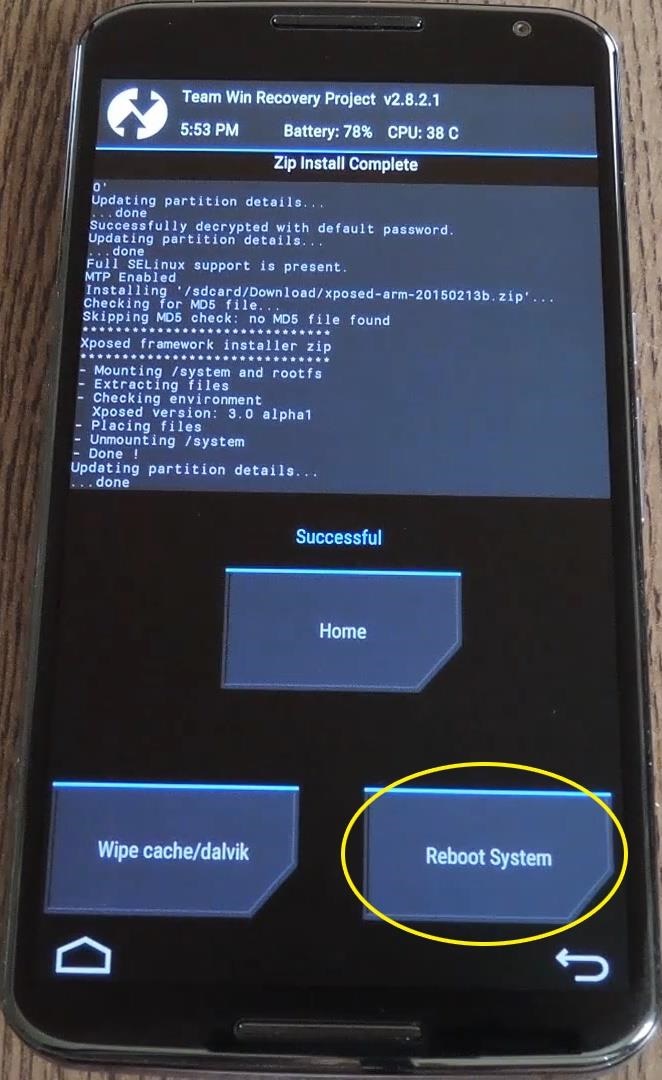
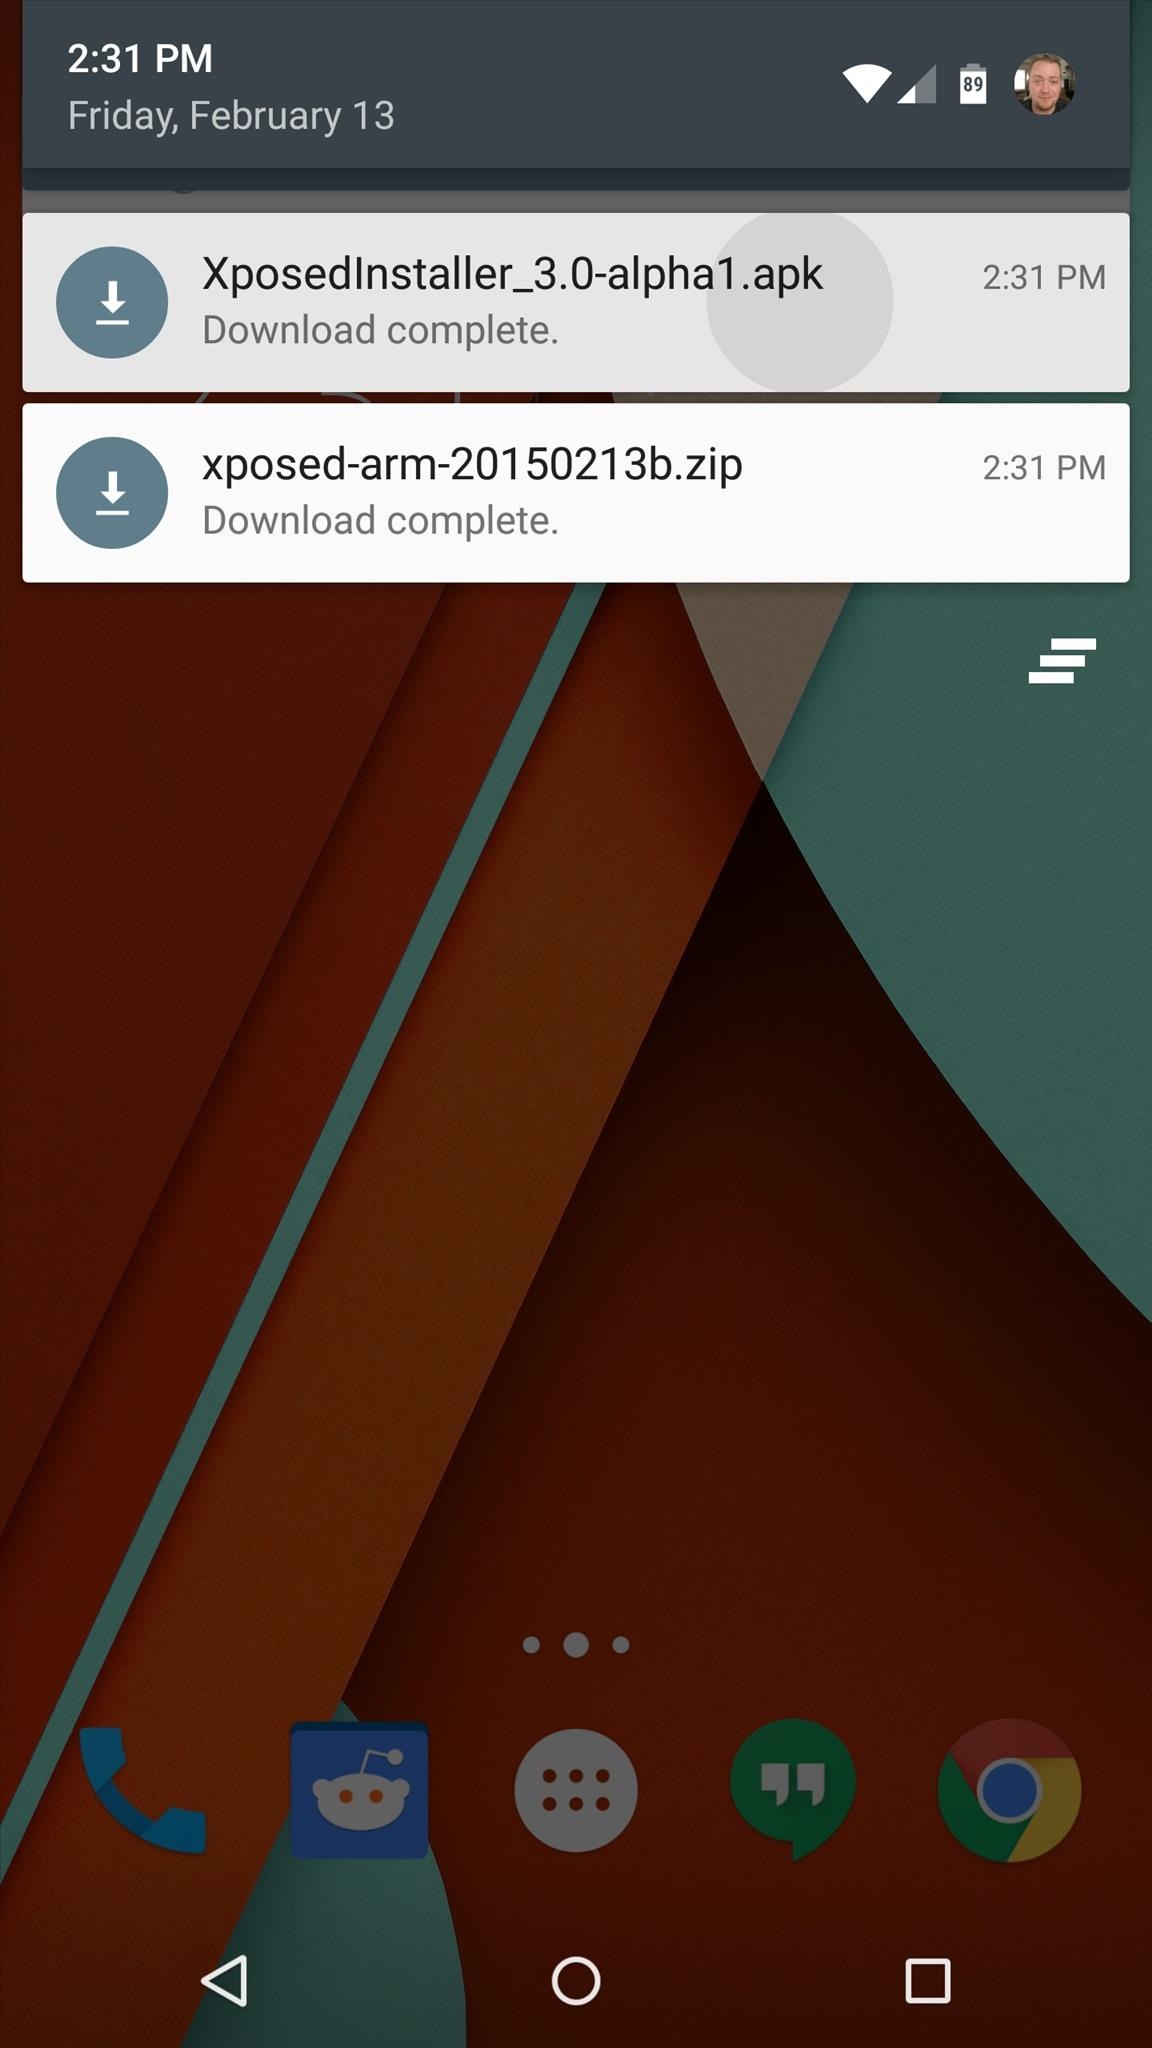
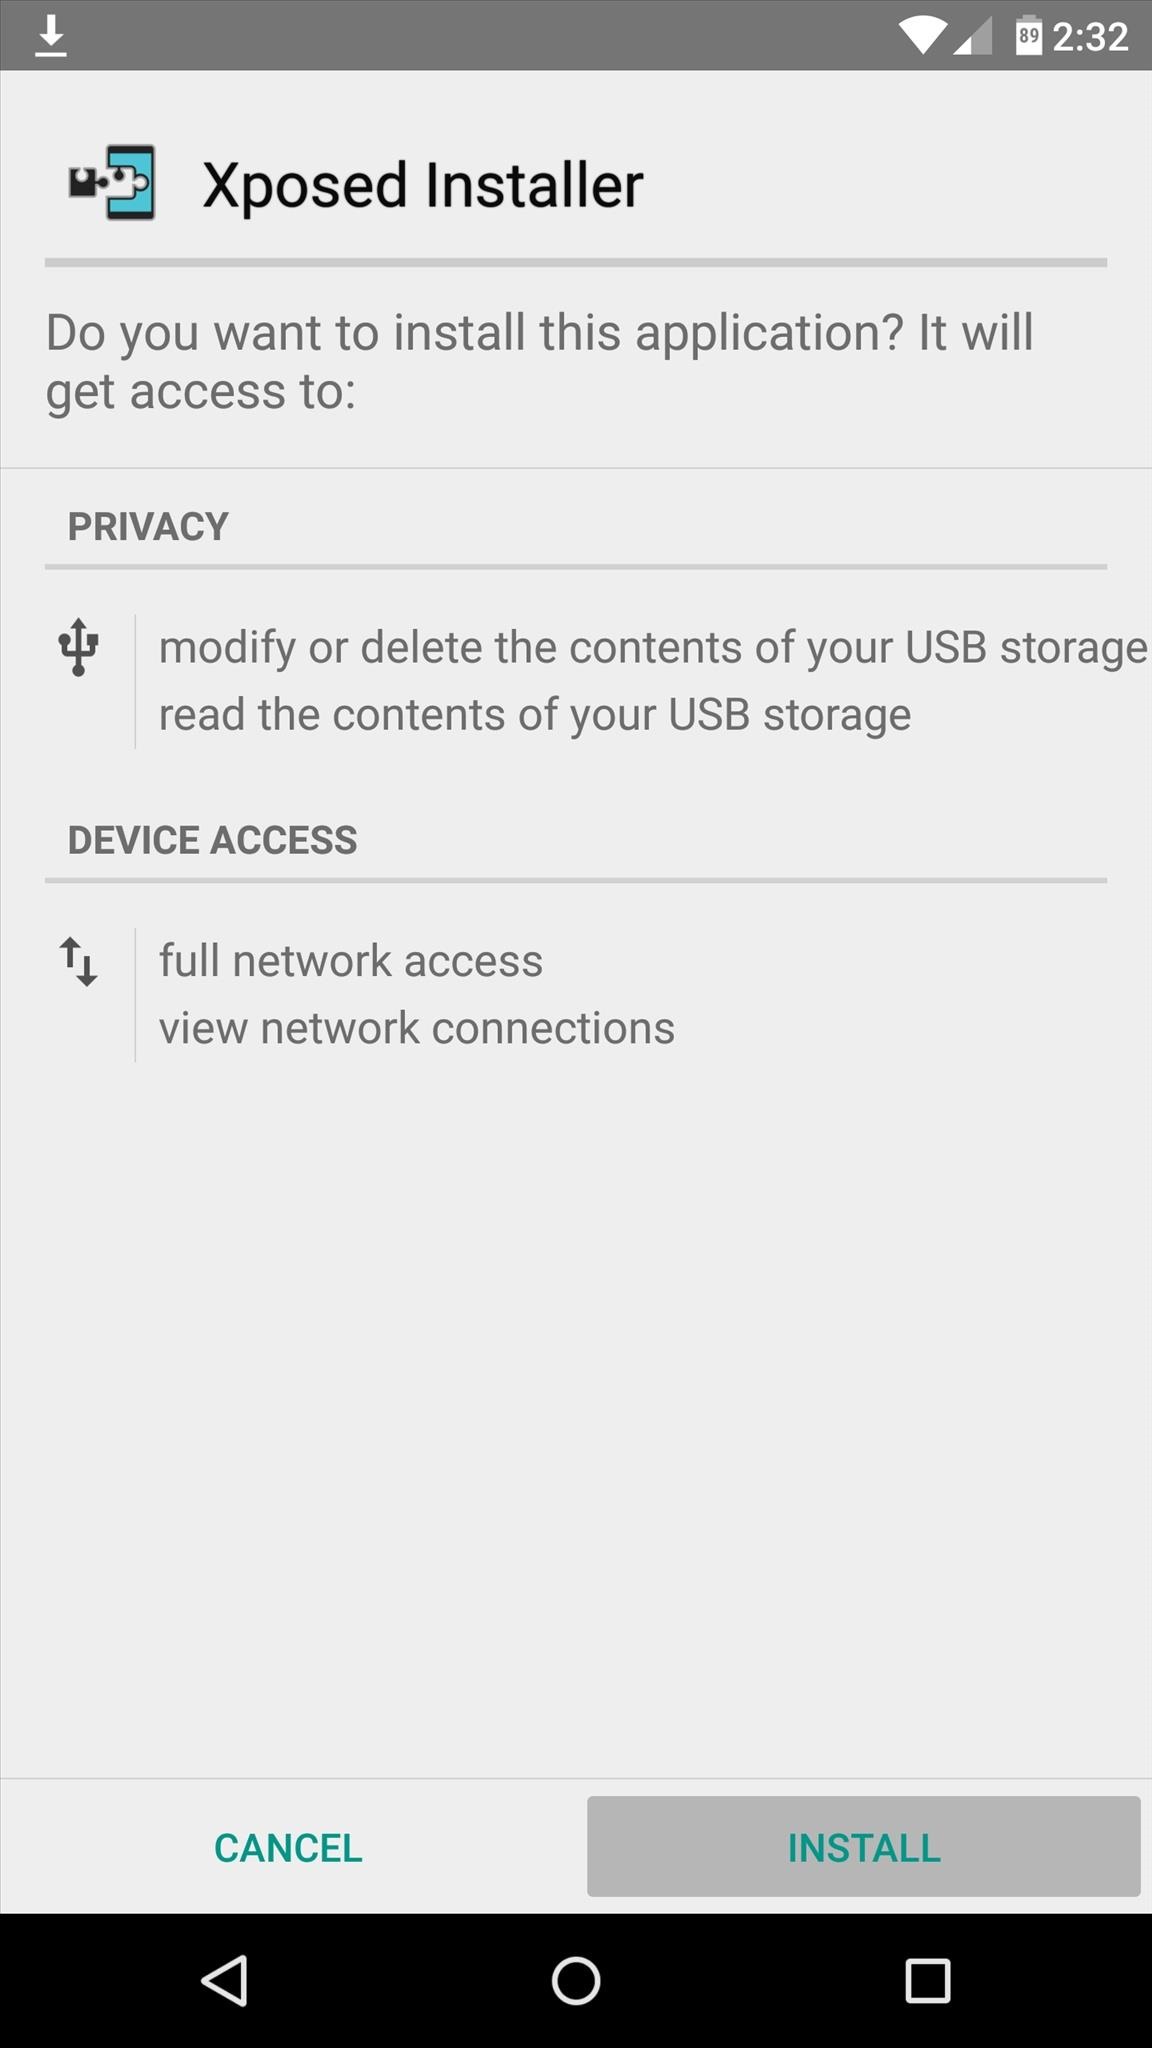
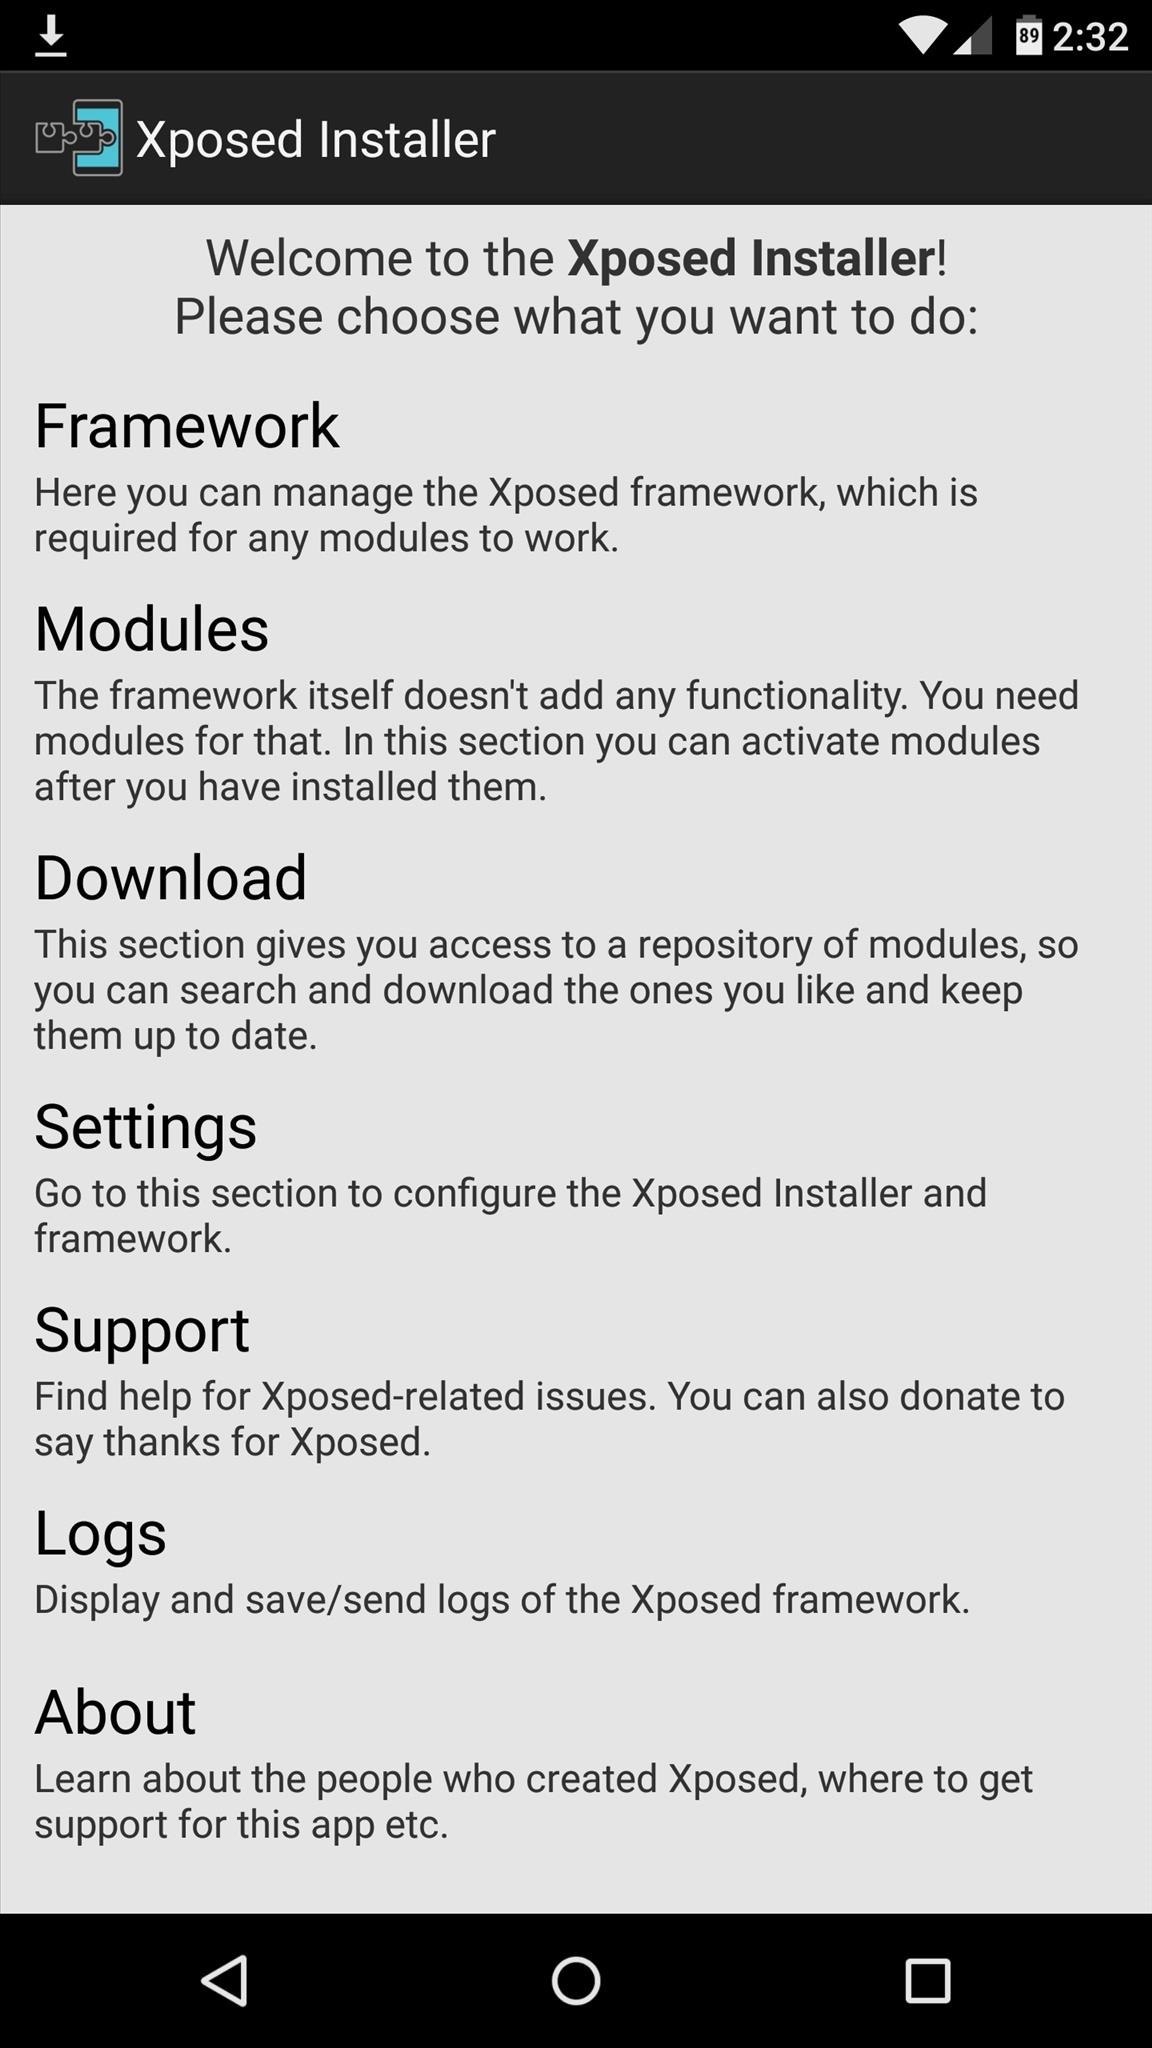
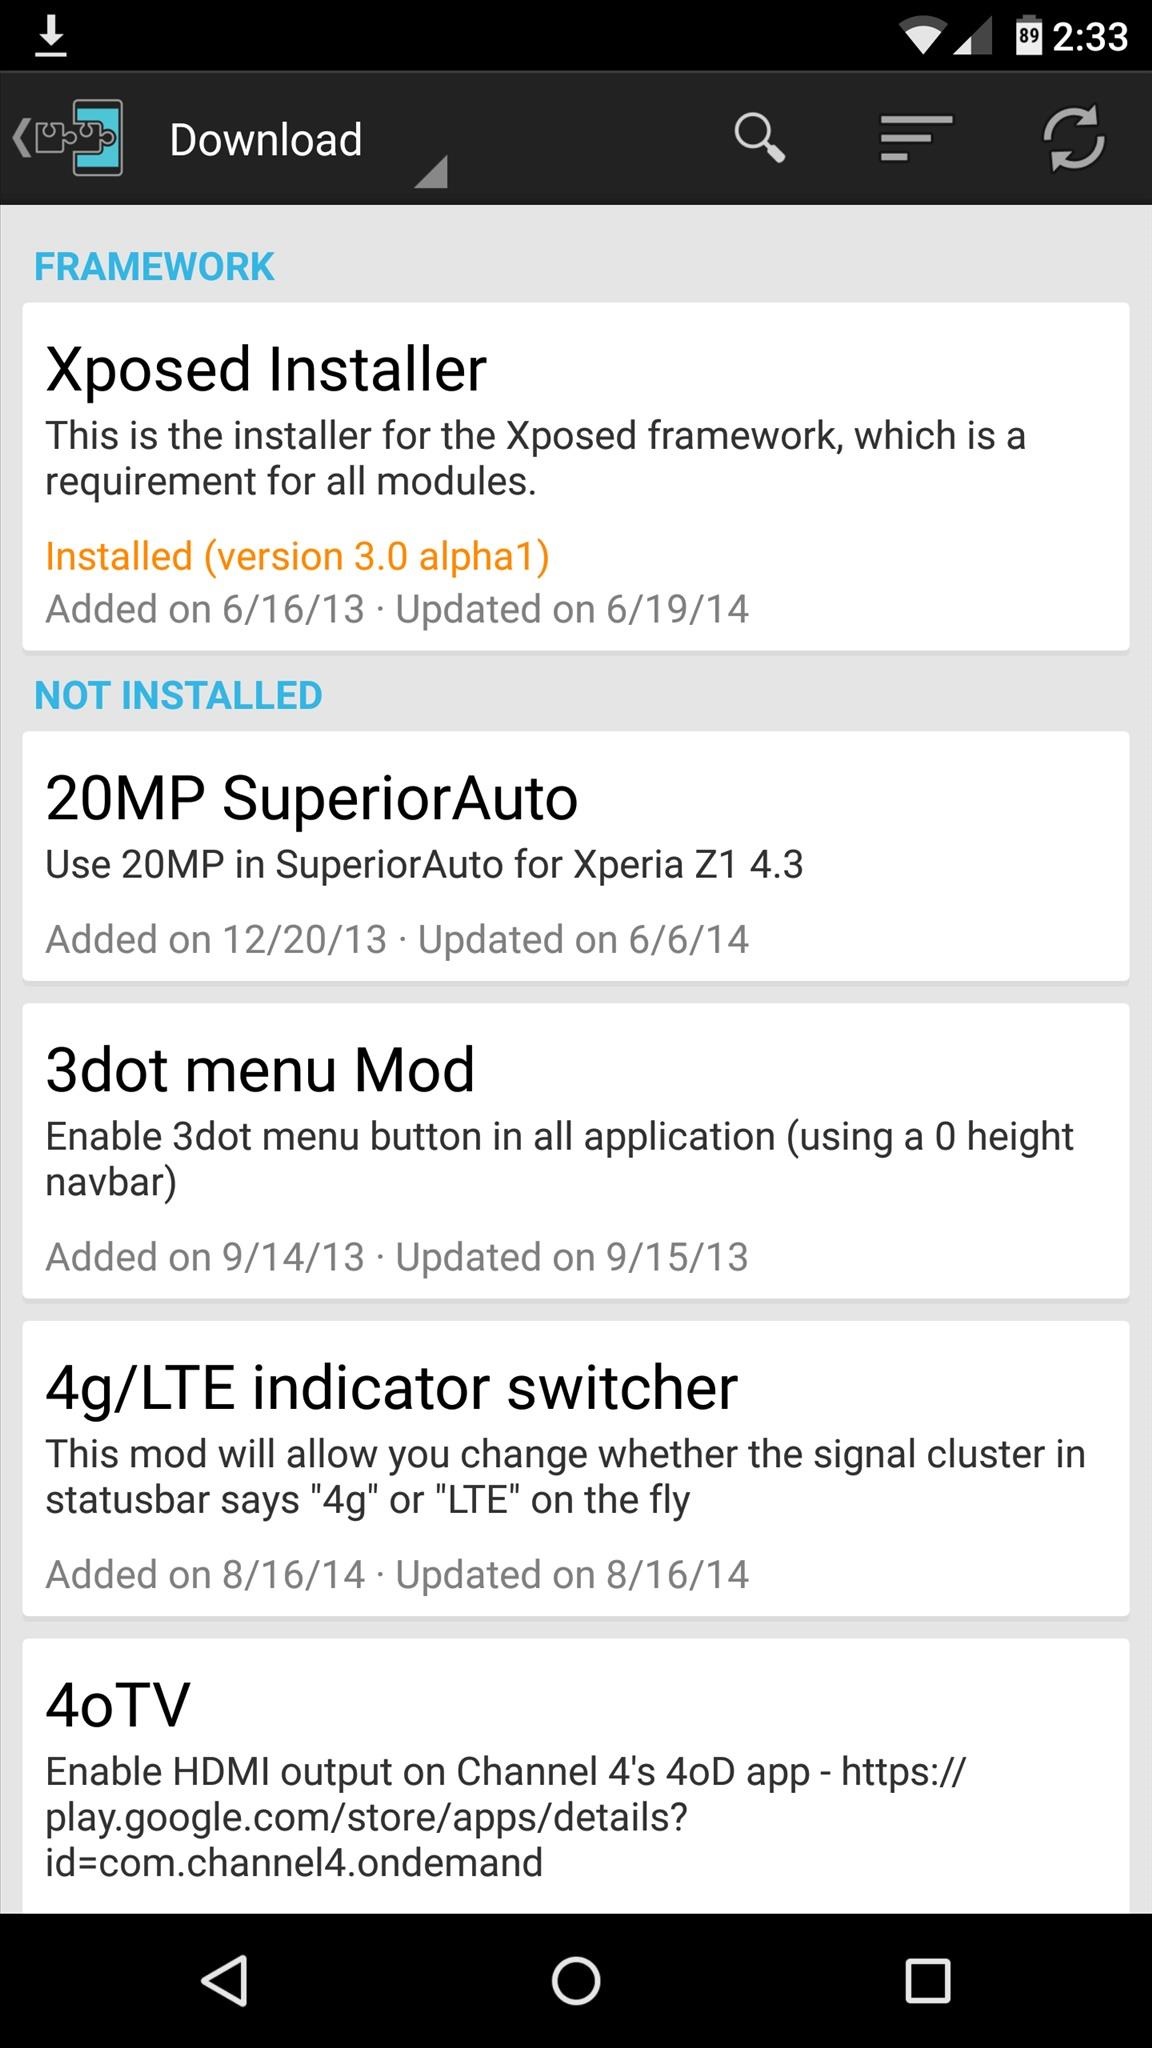
for internal storage and other problems use xposed and install xiinternalsd links here 
xposed : link
xinternal sd : link

**use this tools to download if u cant download it : link
tips u can flash dolby and music mod for kitkat for best xperience

Tuesday, 28 July 2015

Resurrection Remix ROM for lava iris x8


About Resurrection Remix ROM
Installation
Downloads 
About Resurrection Remix ROM 


Resurrection Remix the ROM has been based on CM,slim.omni and original Remix ROM builds, this creates an awesome combination of performance, customization, power and the most new features, brought directly to your Device
Many things that in previous versions were tweaked with mods, are now included by default in the ROM so, please enjoy!
Special thanks to, the CM team,OMNI team ,SLIMROMS and of course to all the supporters
Included Main Features


-Navigation Bar
-Enable/Disable Navbar
-Navbar Ring Switch
-Navbar Ring Targets
-Navbar Button Customization
-Navbar Dimensions(Potrait & Landscape)

-Statusbar
-Brightness Slider
-Enable/Disable Show Notification Count
-SuperUser Indicator Switch
-Carrier Label
-Carrier Label Switch
-Carrier label Colour
-Quick PullDown Switch
-Smart Pulldown Switch
-Clock Customizations
-Time & date
-Clock Colour
-Day & date Toogle
-Center Clock/Right Clock Choice
-Battery
-Battery Bar customization
-Battery Icon Customization(circle/landscape/Potrait and more)
-Battery % Text
-Network Traffic Indicator

-Theme Chooser
-RR exclusive PITCH BLACK THEME
-Animations
-Toast Animations
-ListView Animations
-System Animations

-Gestures
-Gestures Anywhere Feature

-App Circle Bar
-Choose apps in App circle
-Trigger Width
-Trigger Hieght
-Trigger Position

-Recents Panel
-Clear All button Switch
-Clear All Tasks Switch
-Clear All Button Location(Top right,Top Left,Top Center,Bottom Left,Bottom Right,Bottom Center)

-Cclock Widget
-CLock And Alarm Customizations
-Weather Panel Customizations
-Calender Events

-LockScreen
-Lockscreen Shortcuts
-Choose upto 5 Shortcuts
-100+ Icons for Shortcuts

-Quick Slider Shortcuts

-Notification Drawer
-Weather Display Switch
-Quick Settings
-Choice to Add 20+ Tiles
-Enable 2/3/4 Tiles per Row
-Enable Disable Birghtness Slider in Notification Panel
-Advanced Location Settings Switch(Choose Battery saving/Device Only/High Accuracy Directly in Notification Panel)
-LongPress Toogles to Enter Settings

-Buttons
-Backlight Timer
-Backlight Strength
-Navigation Bar left/Right handed mode Switch
-Power Menu
-Power Menu End Calls Switch

-Home Button(For devices with HW keys Only)
-Home Button Wake Up
-Home Button answer call
-Long Press Actions
-Double Tap Actions

-Back Button(For devices with HW keys Only)
-Wake Up device Switch

-Menu Button(For devices with HW keys Only)
-Wake Up Device Switch
-Short Press Actions
-Long Press Actions

-Search Button(For devices with HW keys Only)
-Wake Up Device
-Short Press Action
-Long Press Action

-Volume Buttons
-Wake Up Device
-Playback Control
-Keyboard Cursor Control
-Swap Buttons on Landscape mode

-Perfomance Profiles
-LCD Density
-Expanded Desktop Mode
-All New CM Audio FX App
-Heads Up Customizations
-OverAll Smoothness Improvements
-Quick Unlock
-Optimizations to Improve Battery
-ALL cm12 Features
-AND MUCH MUCH MORE
NO ONE READ THE THINGS ABOVE ?
I KNOW BUT IF U DONT READ THIS U LL NOT ABLE TO ENJOY THE ROM!!!!!!!!
TESTED BY ME WORKING CLEAN AND BUGFREE USING  philz RECOVERY I M UPLOADING THE RECOVERY TOO IF NO 1 WANTS TO TAKE ANY RISKS
READ THIS CAREFULLY!!!!!!!!!!!!!!!!!!!!!!


[b][i] Installation Insturaction [indent]
- (Remenber only philz and twrp 2.8.6 can flash this rom )
I recommend to flash it over a freshly install pac or cm11 without wiping data ( not necessary u may proceed without pac or cm11)
1) put d rom in external sd card
2) rboot to recovery > wipe cache davilk cache and data(not recommended for cm11 or pac user)
install zip > navigate to sd card > select zip
3) flash d rom
now the real part begins
after booting d rom u will get blutooth fc ignore this
4) now open app drawer (launcher) > open the app named "selinuxchanger"
5) allow root permission
6) then select "permissive"
without wasting time navigate to setting > developer setting > turn on advanded reboot
7) hold power button
8) click on reboot
9) select soft reboot
voila camera and sensor starts working

Cam not there in launcher
dont worry install any third party app or use camera from lock screen

wifi not turning off
go to setting > wifi > press action key > select advanced > disable scanning always availale

sound very low?
just enable all 3 buttons down in Dolby atom and use any 3rd party music app


Screenshots


PATCHES :-
1st : link
2nd :   link

SUPER SU FLASHABLE LINK (USE THIS IF U LOVE SUPERSU OR USE INBUILT ROOT LIKE IN CM 12.1) : LINK


philz RECOVERY : LINK


HOW TO FLASH A RECOVERY ?
READ THE XDA THREAD CAREFULLY OR JUST LEAVE IT BUT DONT ASK THESE THINGS AGAIN!!!!!!!


FAQ...
Q:Camera and Sensors are not working.
A:Just soft reboot

Q:I can't see installed Apps In My app drawer.
A:Just FC the launcher..
or try using Other Launchers.. 

Q:Sound is low..
A:Just flash Dolby Atmos from here.And enable all three buttons.
If still facing Low sound...go to audio fx and turn it off

Q.Can't Connect to Computer
A. Just go to storage/USB connection/and tick on mtp...
That's it


JUST READ EVERY THING CAREFULLY!!!!!!!! 
HIT LIKE ON XDA TOO IF U LOVED MY WORK OR WANT MORE ROMS :)

Saturday, 18 July 2015

HOW TO FLASH A ROM USING CTR RECOVERY

HOW TO FLASH A ROM USING CTR RECOVERY

If you fear of bricking your device then make a backup by going into 'Backup and Restore' option and click on Backup. It will backup your whole system files with data except SD Card data.
How to Flash Custom Roms on Gionee M2 using CTR Recovery | With Screenshots

Click on Wipe Menu and then click the first one Wipe Preflash to format system, data and cache files. After they are done, swipe left to go back.How to Flash Custom Roms on Gionee M2 using CTR Recovery | With Screenshots


Now, tap the custom rom zip which you want to install.

How to Flash Custom Roms on Gionee M2 using CTR Recovery | With Screenshots
The rom will start to install.

How to Flash Custom Roms on Gionee M2 using CTR Recovery | With Screenshots

 After installation, you will see this.
How to Flash Custom Roms on Gionee M2 using CTR Recovery | With Screenshots
Now, swipe left to go back to main screen and click 'Reboot the phone'

How to Flash Custom Roms on Gionee M2 using CTR Recovery | With Screenshots

After reboot, you will see Boot Animation of the Custom rom you just flashed.

How to Flash Custom Roms on Gionee M2 using CTR Recovery | With Screenshots
voila u flashed a custom rom

QuickBoot for CyanogenMod 12.0 / 12.1 (iris x8)


QuickBoot for CyanogenMod 12.0 / 12.1

/* Installation */

1. Download QuickBoot.zip from XDA attachments section
2. Flash the downloaded zip file from the recovery
3. Enable QuickBoot from Developers options

download link for lava iris x8 here

how it works and what is it exactly
see here

Wednesday, 15 July 2015

XPOSED FOR LOLLIPOP (CM 12.1 AND BASED ROMS)

XPOSED FOR LOLLIPOP (CM 12.1 AND BASED ROMS)


Step 1: Download Necessary Files

There are two core elements to Xposed—one is the Xposed Framework, which lays all of the groundwork, and the other is the Xposed Installer app, which allows you to download and manage modules. First up, grab a copy of the Installer from the following link:
In these early stages of Lollipop development, the Framework will have to be flashed in custom recovery. There are 3 different version of the Framework, and they each correspond to a different type of processor (ARM, ARM 64, x86). If you're not sure about the type of processor your Android device uses, check the spec sheet on a site like GSMArena, then download the corresponding ZIP file from one of these three links:

Step 2: Boot into Custom Recovery

When the files have finished downloading, the next step is to boot into custom recovery. To do that, start by powering your device completely off. This next part may vary, but for most devices, press and hold the volume down and power buttons simultaneously.
This will bring up Android's Bootloader menu. From here, use the volume down button to highlight "Recovery mode," then press the power button to select it.

Step 3: Install the Framework in Custom Recovery

Before you flash anything in custom recovery, it's always a good idea to make a full NANDroid backup. That's extra important in this case, since the Xposed Framework is in its early stages and may cause issues with some devices. Do not skip this step!
Then, to get started, go ahead and tap the "Install" button from TWRP's main menu. Next, navigate to your device's Download folder, then select the Xposed ZIP file that you downloaded in Step 1.
After that, just swipe the slider at the bottom of the screen to install the Framework, and when that's finished, tap "Reboot System."
Your device will take longer than normal to boot up here. This is because the Xposed Framework ZIP had to clear away some library files, which will need to be restored. Expect this process to take at least 10 minutes.

Step 4: Install the Xposed Installer App

When you get back up, it's time to install the actual Xposed Installer app. Tap the Download Complete notification for the "XposedInstaller_3.0-alpha3.apk" file, then press "Install" and "Open" on the next two menus.
At this point, you should be looking at that familiar Xposed interface we all know and love. Head to the "Download" section to begin browsing modules, but keep in mind that some may not work on Lollipop.

Thursday, 9 July 2015

CyanogenMod 12.1 for lava iris x8


CyanogenMod 12.1 Status:

Working:
- RIL: Telephony (Calls / etc) (2G and 3G) (In Both SIMs)
- ART
- Sensors
- LED's
- Rear Camera ( pictures )
- Front Camera ( pictures )
- FlashLight
- Sound
- Bluetooth
- Wifi
- Microphone (For Calls and in some apps)
- Data connection
- CyanogenMod related features (Theme Manager, etc ... )

Not Working / Needs Improvements :
- GPS
- Camcorder ( You can use 3rd party video recording apps from Play Store)
- USSD codes. only works in some Providers
-wifi looses password sometimes
-no fb calling and google voice search
other bugs tell me


Single / Dual SIM Behavior :

On Dual-SIM (when using both SIM slots) :
3G Will be forced to Slot 2 (Depending on your SIM Provider)
Data connection will only properly work on Slot 2 (Depending on your SIM Provider)

On Single-SIM (when using only one SIM slot) :
You can toggle between 2G / 3G just fine
Data connection will work just fine

Also when in Single-SIM and to avoid bugs with Data connection
Change this line in build.prop (/system):
Code:
persist.radio.multisim.config=dsds
to
Code:
#persist.radio.multisim.config=dsds


Flash Instructions:
Backup, Backup, Backup ...
You need to be on the Unofficial KitKat Base (due to the new KK partitions)
Put the zip file on external SDCard
Flash with ctr recovery for iris x8
Full Wipes
Flash Rom
Flash minimal GAPPS 5.1
Enjoy
 ** note : install xinternalsd and xposed after flashing cm12.1 rom to avoid bugs 
xinternalsd:- https://drive.google.com/open?id=0B5...DBRcjFGc09mNU0
xposed :-http://mylavax8.blogspot.in/2015/07/xposed-for-lollipop-cm-12.html

Sunday, 28 June 2015

MATERIAL UI FOR LAVA IRIS X8


Material ROM FOR LAVA IRIS X8


* Material UI
* Sensor working
* Dual Sim 3g 
* BT Tweks
* Pre-Rooted
* Dolby added
* Gapps Included
* Viper4android added
*Optimized speed and WiFi
*Touch effect optimization
*Optimized CPU running
*Deodex
*Optimized memory management
*Optimized network
*Optimized battery power
*Zipaliagned*
*Improve picture quality and Camera quality
*Unlocked FPS, improving 2D / 3D performance
* Many More....
And Lots Of Stuff I Dont Remember Now


HOW TO INSTALL


1. Place downloaaded rom zip into root of sd.
2. wipe data, cache , dalvik cache using custom recovery
3. select install zip from sd and select rom zip .
4. reboot and enjoy


BUGS
camera not working
soon to be solved


Credits

Pinto Thakur
Amit Kumar
Lan gooner FOR ROM
Manhar Gupta


DOWNLOAD


CAMERA PATCH +AUDIO IN ONE FILE


Friday, 19 June 2015

Making Our device a bit better

*Thanks to slad480

Features 

- Full memory management.
-Linux kernel tweaks and improvements for better performance and battery life.
- Entropy generator engine used to reduce lags.
- Zipalign apps in "/system" and apps in "/data" every 48 hours which result in less RAM usage.
- Sqlite optimizations and faster database access.
- CPU governors tweaks and improvements for better performance and battery life.
- Increased SD Card read-ahead cache to 2048 KB .
- Ad blocking.
- Build.prop tweaks and improvements.
- Cleans log files and tombstones at every boot.
- Many other tweaks for better performance and battery life!


How to install :

Before Flashing please do a nandroid backup to avoid any incompatibility issues.
1. Download the Fly-On Mod main pack and sqlite pack according to your phone's Android version.
2. Rebooting into recovery mod.
3. Install Signed_Fly-On_Mod_V4.0-Alphax.zip and sqlite_xversion.
4. Reboot and feel the smoothness!


link to flashable zip
orignal xda thread http://forum.xda-developers.com/showthread.php?t=2226373
* I M NOT RESPONSIBLE FOR BRICKED DEVICES

Wednesday, 3 June 2015

CUSTOM RECOVERY FOR MTK DEVICES

Custom CWM Recovery For MTK


CWM RECOVERY For Micromax, Karbonn, ZTE, Huawei, Dogee, All Samsung Clones, All iPhone Clones and all MTK Devices

THINGS YOU NEED :  
  • A MediaTek android device (MT65XX) 
  • Your phone must be rooted already: HOW TO ROOT
  • USB Chord.
  • Windows PC/Laptop.
  • For ADB Drivers : Download pdanet+

TOUGH WAY (if u don't trust me)

MTK DROID TOOLS DOWNLOAD : MTK DROID TOOLS
How To Flash ClockworkMod (CWM) Recovery on Any MediaTek (MT65xx) Android Device :


1. Download necessary files above.

2. Install the downloaded PDANet to your computer. It contains ADB Drivers.

3. Turn on your android device and connect it to your computer using USB Chord. (Make sure to Enable USB Debugging, go to phone Settings -- Developer Options -- Enable USB Debugging.)

4. From your computer, open MTK Droid Tools that you have downloaded above and extract it to your desired location.

5. Open MTK Droid Tools.exe from the extracted folder (Run as administrator). Wait for the tool to detect your device. (If UBIFS warning appeared in the status message, this process will not work for you. Only ext4 supported.). Notice on the bottom-left part of the tool, a YELLOW color indicator means that your android device is does not have root shell yet. If it is GREEN already, proceed to step 7.

6.  Click ROOT button to enable root shell your device. Wait for the progress bar on the Status, see your phone to Grant Superuser access. If the color indicator turns GREEN, then you have successfully enabled root shell for your device.

7.  Now, select the Root, Backup, Recovery tab and and further choose To Use Boot From Phone from the selections. Click Recovery and Boot, a message prompt will appear "To make CWM recovery automatically", click YES.

8. Wait for the tool to build the CWM recovery and another prompt will appear "install patched boot to phone?" select NO, wait a little bit more and another prompt will appear again "install created recovery to phone", now select YES.Auto Insurance

9. When the tool ask you to reboot your phone to recovery, click Yes and it will reboot to CWM recovery shortly. Check out your new custom recovery.Auto Insurance

Congratulations! You now have ClockworkMod custom recovery on your MediaTek android device.

EASY WAY (DONE BY ME)


THINGS YOU NEED :  
  • A MediaTek android device (MT65XX) 
  • Your phone must be rooted already: HOW TO ROOT
  • Mobile uncle tools

How To Install CWM Recovery on Lava Iris x8 and other Mtk devices

  • Download the file named recovery.img
  • Transfer the recovery.img file to the root of your phone memory via USB data cable
  • On your phone, download and install Mobileuncle Tools from the Play Store
  • Launch Mobile Uncle Tools. When it requests for Root Permissions, tap Grant
  • You should now see the Main Menu in Mobileuncle Tools
  • Tap Recovery Update
  • The app will scan your phone and list the recovery.img file you transferred to your phone earlier
  • Tap the recovery.img option. You should now see a dialog box asking you if you’re sure you want to flash the recovery. Tap OK
  • At this point, your phone may seem unresponsive. Just be patient and let the tool flash the recovery image. Once the flashing is complete, you should see another dialog box asking you to reboot to recovery, Tap OK
    image: http://cdn6.dottech.org/wp-content/uploads/2014/03/Flash-recovery-via-Mobileuncle-Tools-620x310.jpg?e55e40
    Flash recovery via Mobileuncle Tools
  • Your phone should now reboot into CWM Recovery
That’s it!! You have successfully installed CWM Recovery on your rooted Micromax Canvas 4 A210, and are all set to check out custom ROMs on your rooted device. Enjoy!!