Here is Another Cm Based BlissPop Rom For LAVA IRIS X8 MT6592 OCTACORE
PLEASE READ CAREFULLY FULL POST
Disclaimer
Team Bliss is not responsible in any way for anything that happens to your device in the process of flashing.
Please familiarize yourself with flashing and custom rom use before attempting to flash the rom.
Please make sure you download the correct version of BlissPop for your specific device. The links are labeled clearly.
Team Bliss is pleased to present to you BlissPop Rom!
BlissPop is one of the most highly customizable roms that you can install on your mobile device,
and we hope you have a truly blissful experience.
A huge thanks to CyanogenMod for the source and all the work and dedication their team puts in to keep us updated.
BlissPop is CM12.1 based, with some features added in from various roms,
and we will continue to update features as they become available.
We will keep up to date with the latest CM code, and updates will be posted on a regular basis.
However, please do not ask for ETA's. We will update the links as soon as they become available.
We will not tolerate any rudeness or anyone being disrespectful in this thread.
We will do our best to answer your questions or concerns as soon as possible.
Visit our website for features that include:
Member sign-up, staff information, all the latest rom downloads,
the option to open support tickets for issues & more!
Working
Fix Dual Sim
Fix Camera
Fix Video Recording
Sensor
Flashlight
Sensors
Sound
Bluetooth
IMEI detection
And Many More
Not Working
Gps & hotspot
Sim2 data
Features
Personalization Options
CM12 Theme Engine
Status Bar
-Clock & Date Options
-Battery Options
-Battery Bar Options
-SuperUser Indicator
-Bluetooth Indicator
-Brightness Control
-Mobile & Wifi Icon Options
-Notification & System Icon Options
-Network Traffic Monitor
-Breathing Notifications
-Bliss Logo Option
-Notification Count
-Wifi SSID in status bar (see Wi-Fi advanced options!)
Navigation & Button Options
-Set Navigation Ring Targets
-Backlight Brightness & Timeout
-Overflow Button Settings
-Navigation Bar Toggle
-Set Navigation Buttons, Layout & Dimension
-Double Tap to Sleep
-Power Button End Call Option
-Home Button Options
-Back Button Wake Up Option
-Menu Button Options
-Search Button Options
-Left-Handed Mode
-App bar incl. open app in floating window via long-tap
Recents Options
-Memory Bar
-Clear All Button Tweaks
-Clear All tasks
-Clear All Recents Location
-Option to show Google search bar in recents Menu
-OmniSwitch (Option to replace recents menu with Omniswitch)
-Open app in floating window
Notification Drawer
-Status Bar Header (Weather)
-Tile Options
-Flashlight Option
-Custom Color Tile Options (Set Background, Icons & Text)
-Quick Setting Options
-Quick & Smart Pulldown
-Brightness Slider Toggle
-Vibrate, Detailed Wifi View & Advanced Location Options
-SlimActions Tile
-Auto Close Panel
-Force Expanded Notifications
-Open app in floating window via long-tap and then floating icon
Heads Up Notifications
Lockscreen Options
-Long Press Lock Icon to Sleep
-Shortcuts
-Bottom Corner Targets
-Weather Options
-Customize Text & Icon Colors (incl. carrier label)
-Clock Widget Settings
-Music Visualizer Options
-Power Button Lock Options
-Lock Method Options
Power Menu Options
-Power Off
-Reboot
-One Click Reboot
-Screenshot (with delay option)
-Screen Record
-Profile Switcher
-Airplane Mode
-User Switcher
-Settings Shortcut
-Device Lockdown
-Sound Panel
-Flashlight
Gesture Anywhere
-Location Options
-Trigger Regions
Animations
-IME Animations
-Toast Animations
-Listview Animations
-System Animations
-Scrolling Cache
-Scrolling Modifiers
App Circle Bar
-Included Apps
-Trigger width, position and height
Sound Options
-Link Ringtone & Notification Toggle
-Media, Alarm, Ring & Notification Sound Options
-Volume Steps
-Volume Panel Timeout
-Interruptions
-Launch Music Apps
-Dial Pad Tones
-Screen Locking Sound
-Touch Sounds
-Charging Sounds
-Camera Shutter & Screenshot Sounds
-Safe Headset Volume
-Less Frequent Notifications
-Media Control
-Vibration Options
Display & Light Options
-Smart Cover
-Adaptive Brightness
-LiveDisplay
-Rotation
-Double Tap to Sleep
-Sleep Time
-Wake on Plug
-Cast Screen
-Expanded Desktop
-Daydream
-Font Size
-DPI
-Battery Light
-Notification Light with Per App Settings
Notification Manager
-Device Lock Options
-Block App Notifications
-Disable Persistent Info
-Priority App Notifications
More Stuff Included
Bliss Download Section
-All current downloads for your convenience
AudioFX Equalizer
-SuperSU - Huge thanks to @Chainfire
-BlissPop Wallpapers (via launcher’s Wallpapers)
-Home Launcher Option
-CM Camera
-User Profiles
-System Profiles
-Location Options
-Security Options
-Privacy Options
-Accounts & Sync
-Language & Input
-Backup & Reset
-Date & Time
-Accessibility
-Printing
-Developer Options
-Rom & Hardware Information
-Changelog
-Bliss OTA Updates
-Many other settings throughout the rom. Take some time to familiarize yourself with all the blissful options!
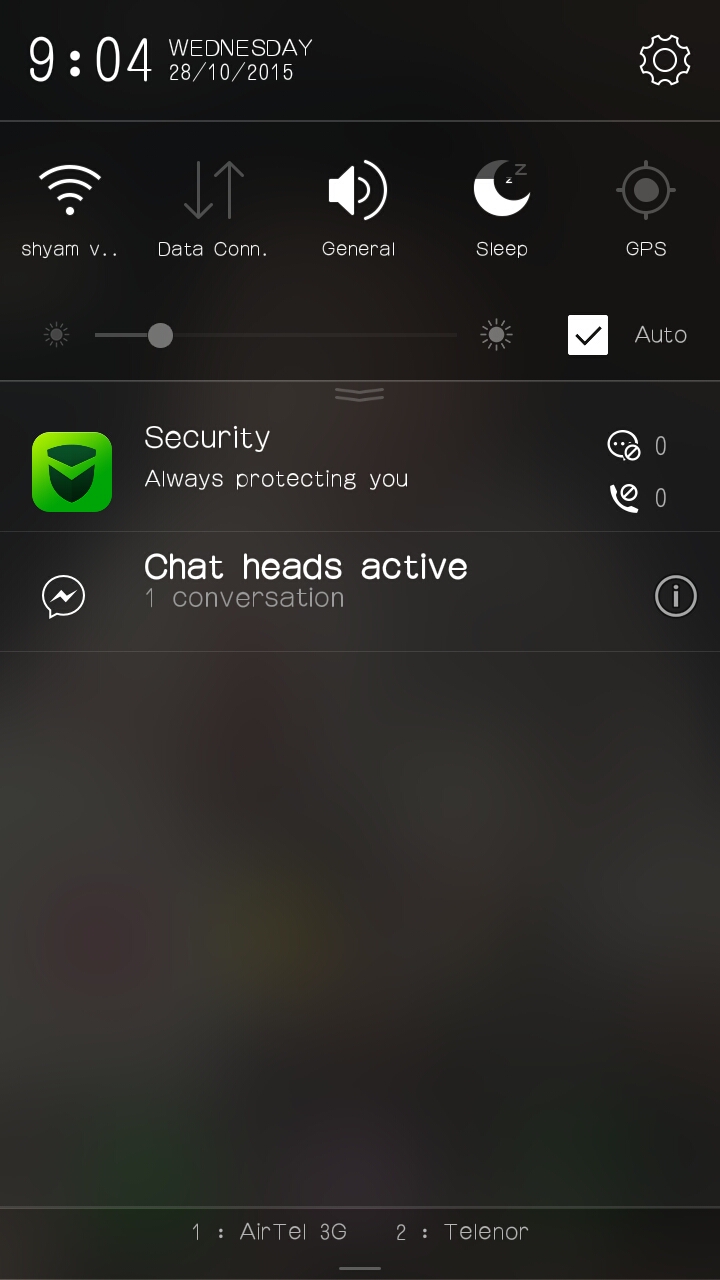
Screenshots
DOWNLOAD ROM
LINK
CAMERA PATCH
LINK
AUDIO PATCH
LINK
LOW SOUND PATCH
LINK
DOLBY :
LINK
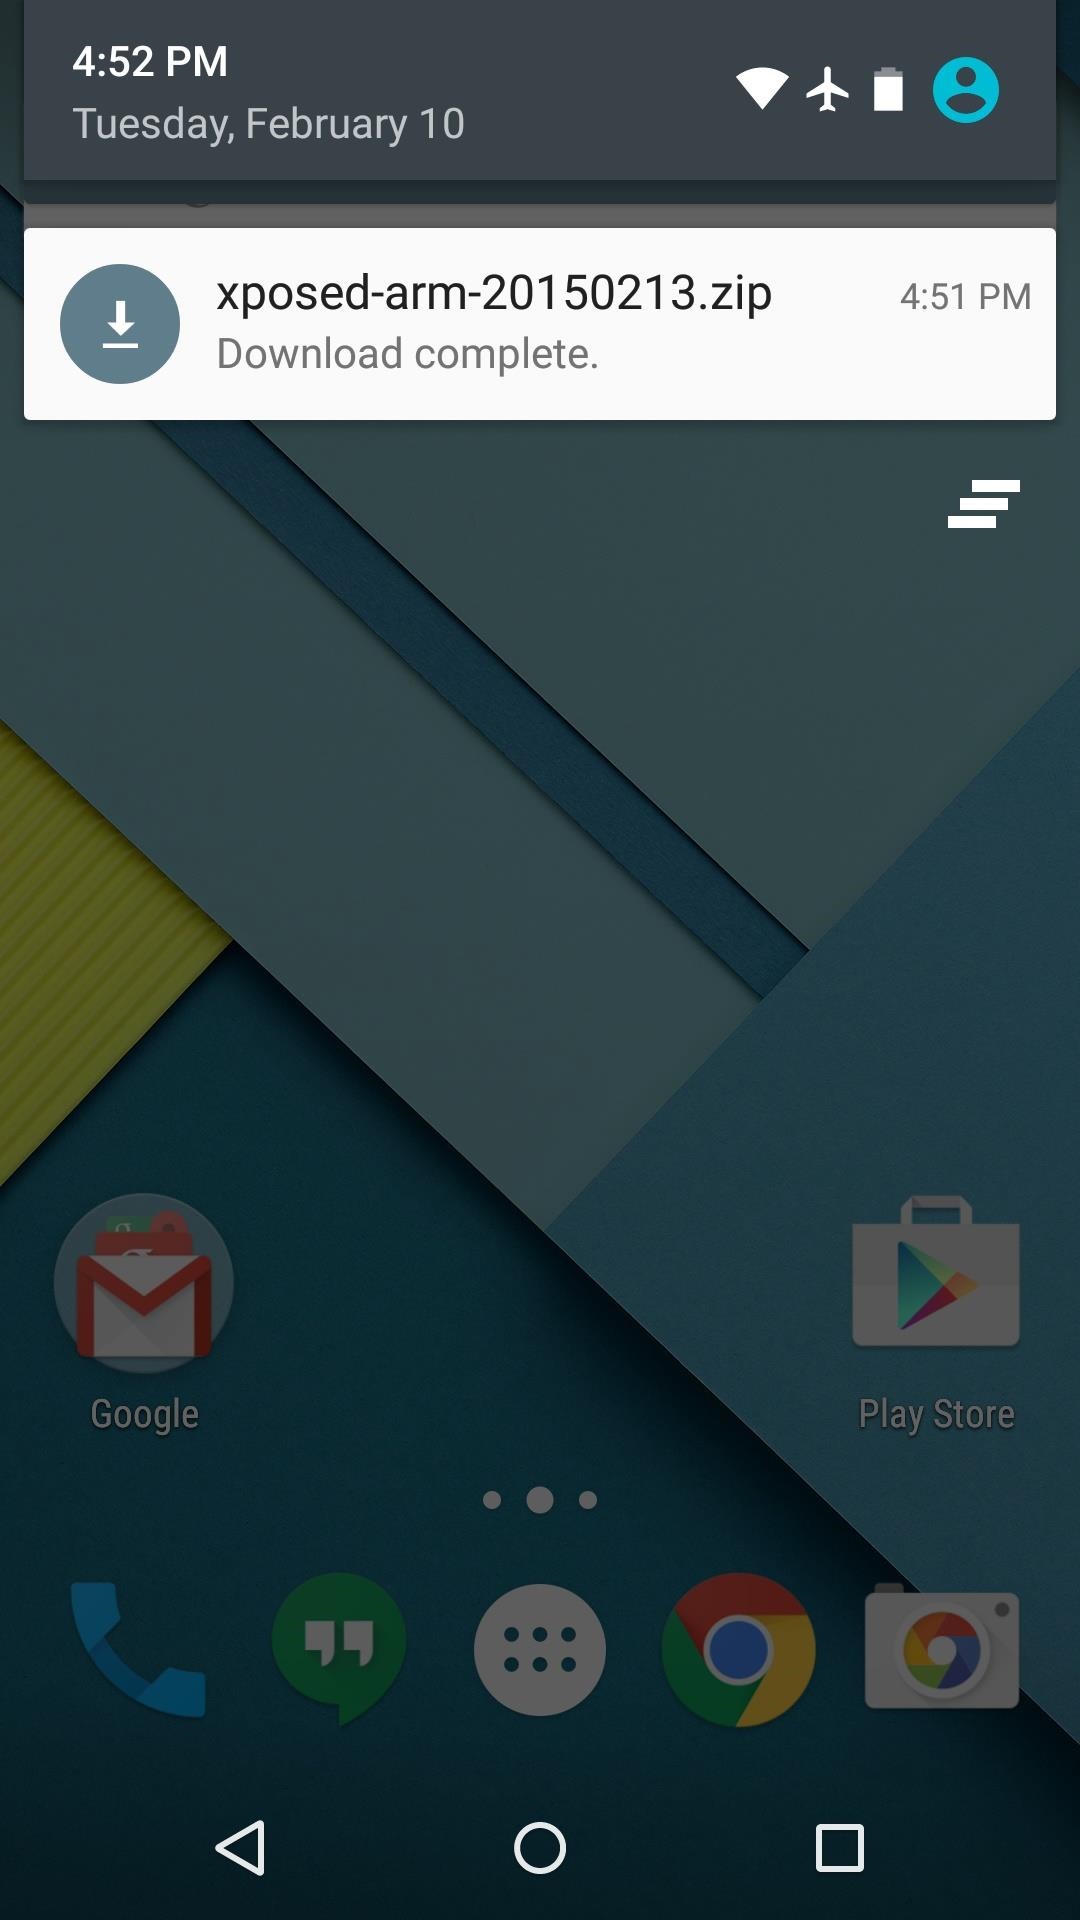
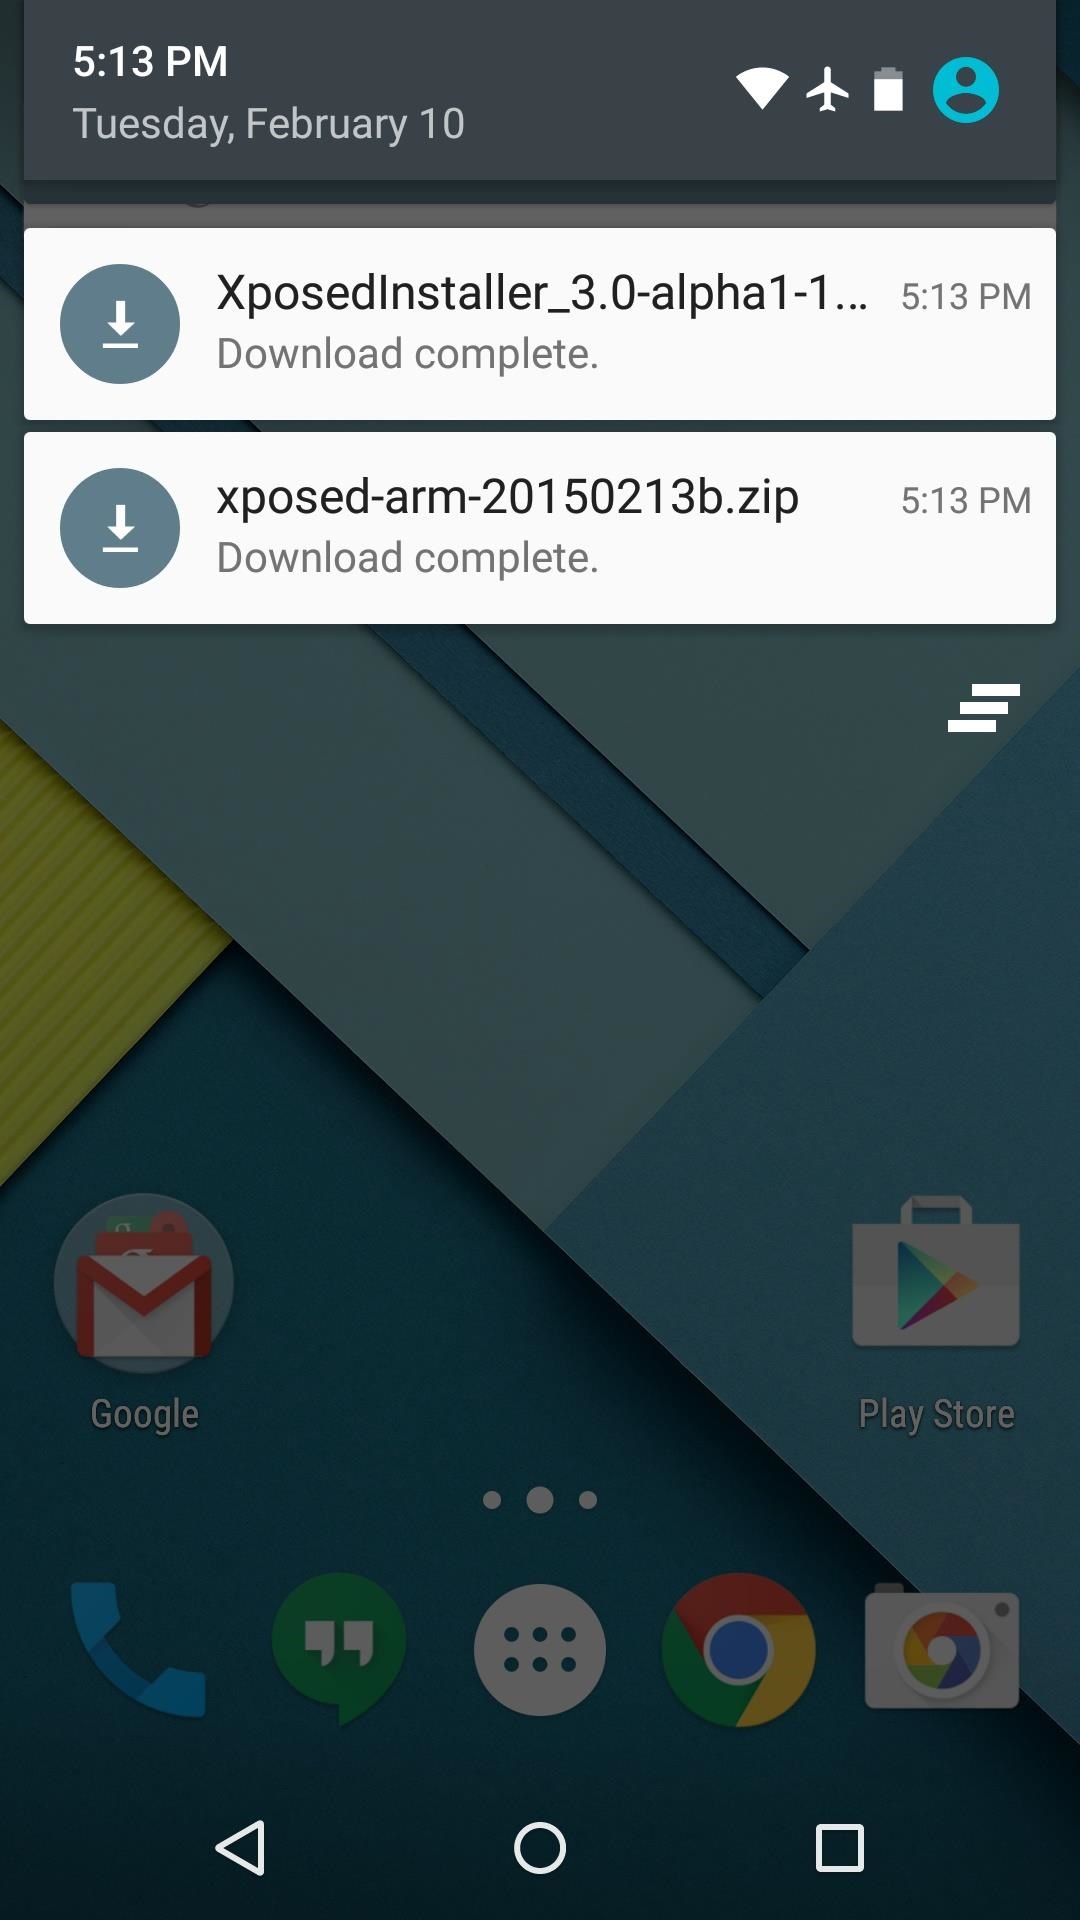
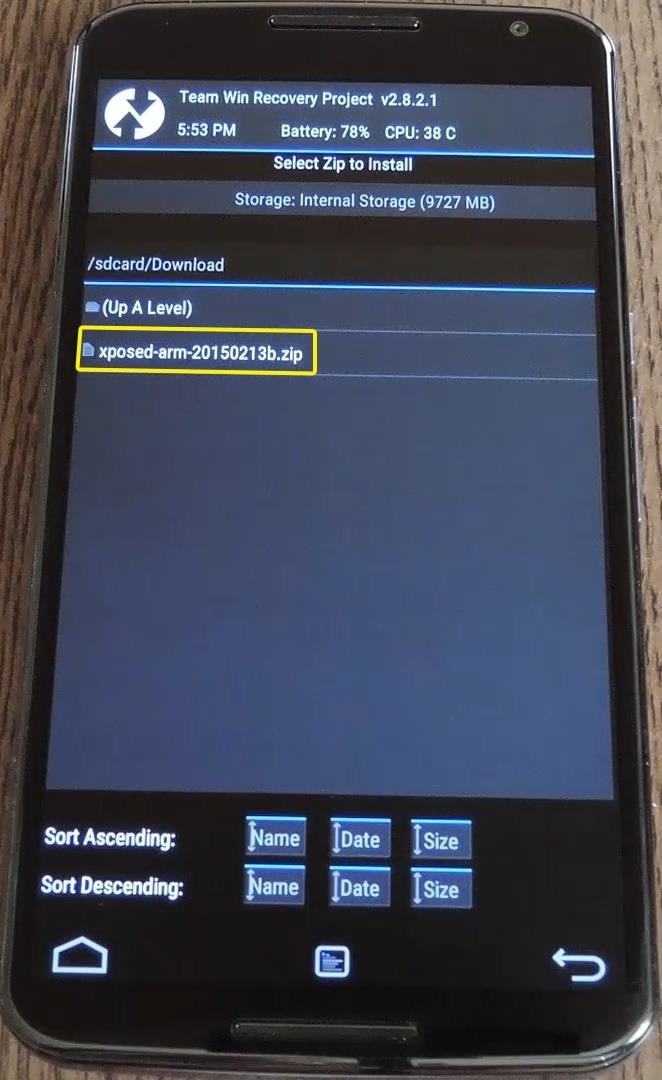
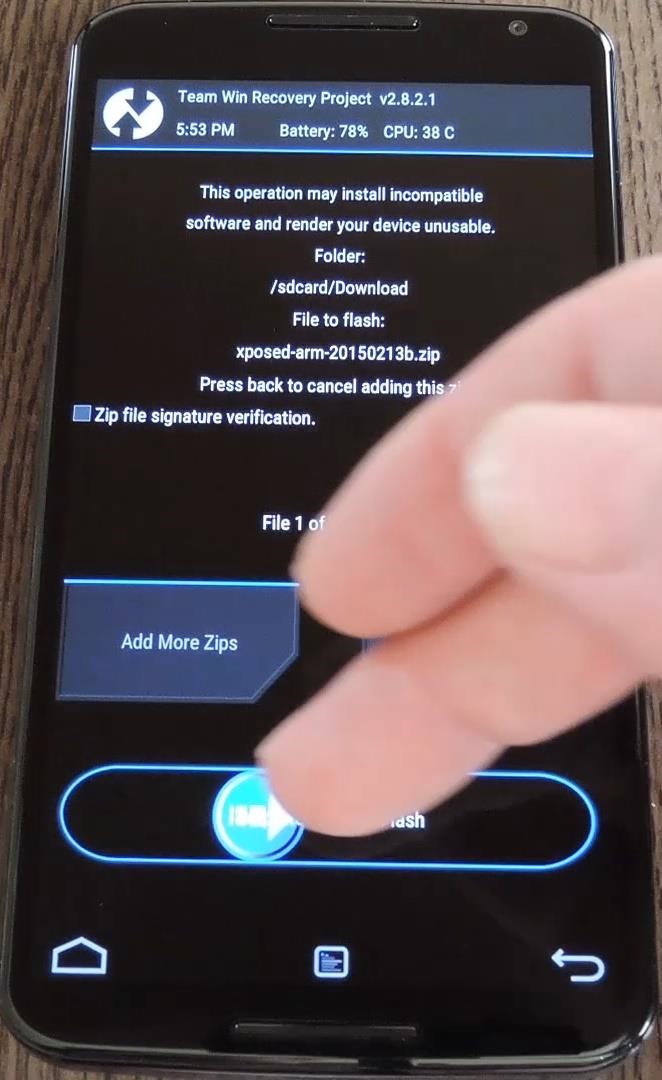
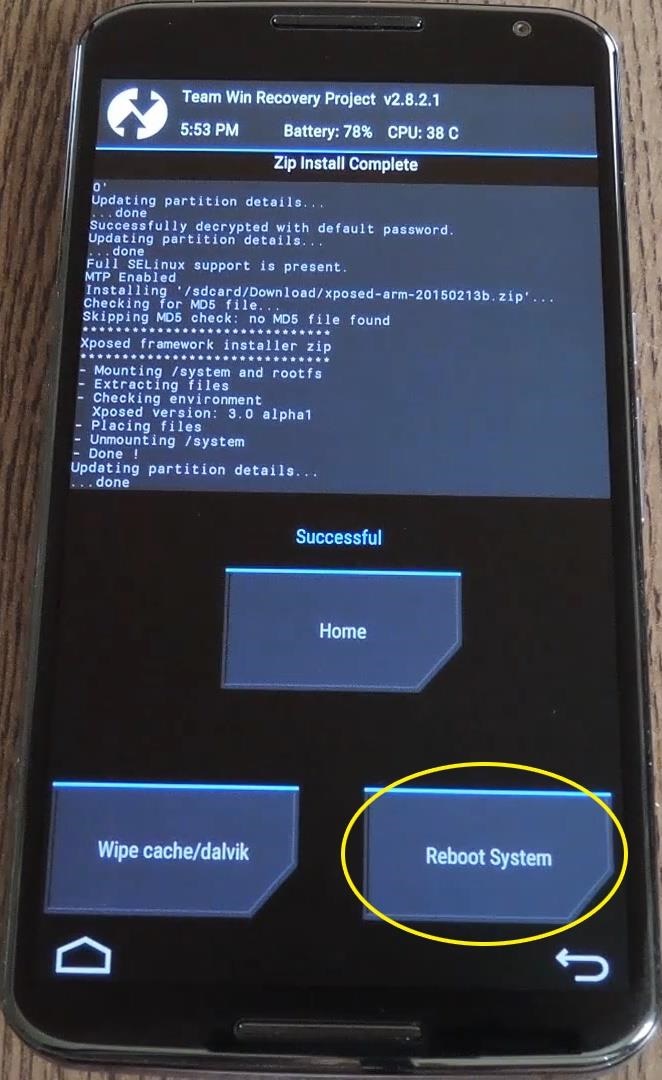
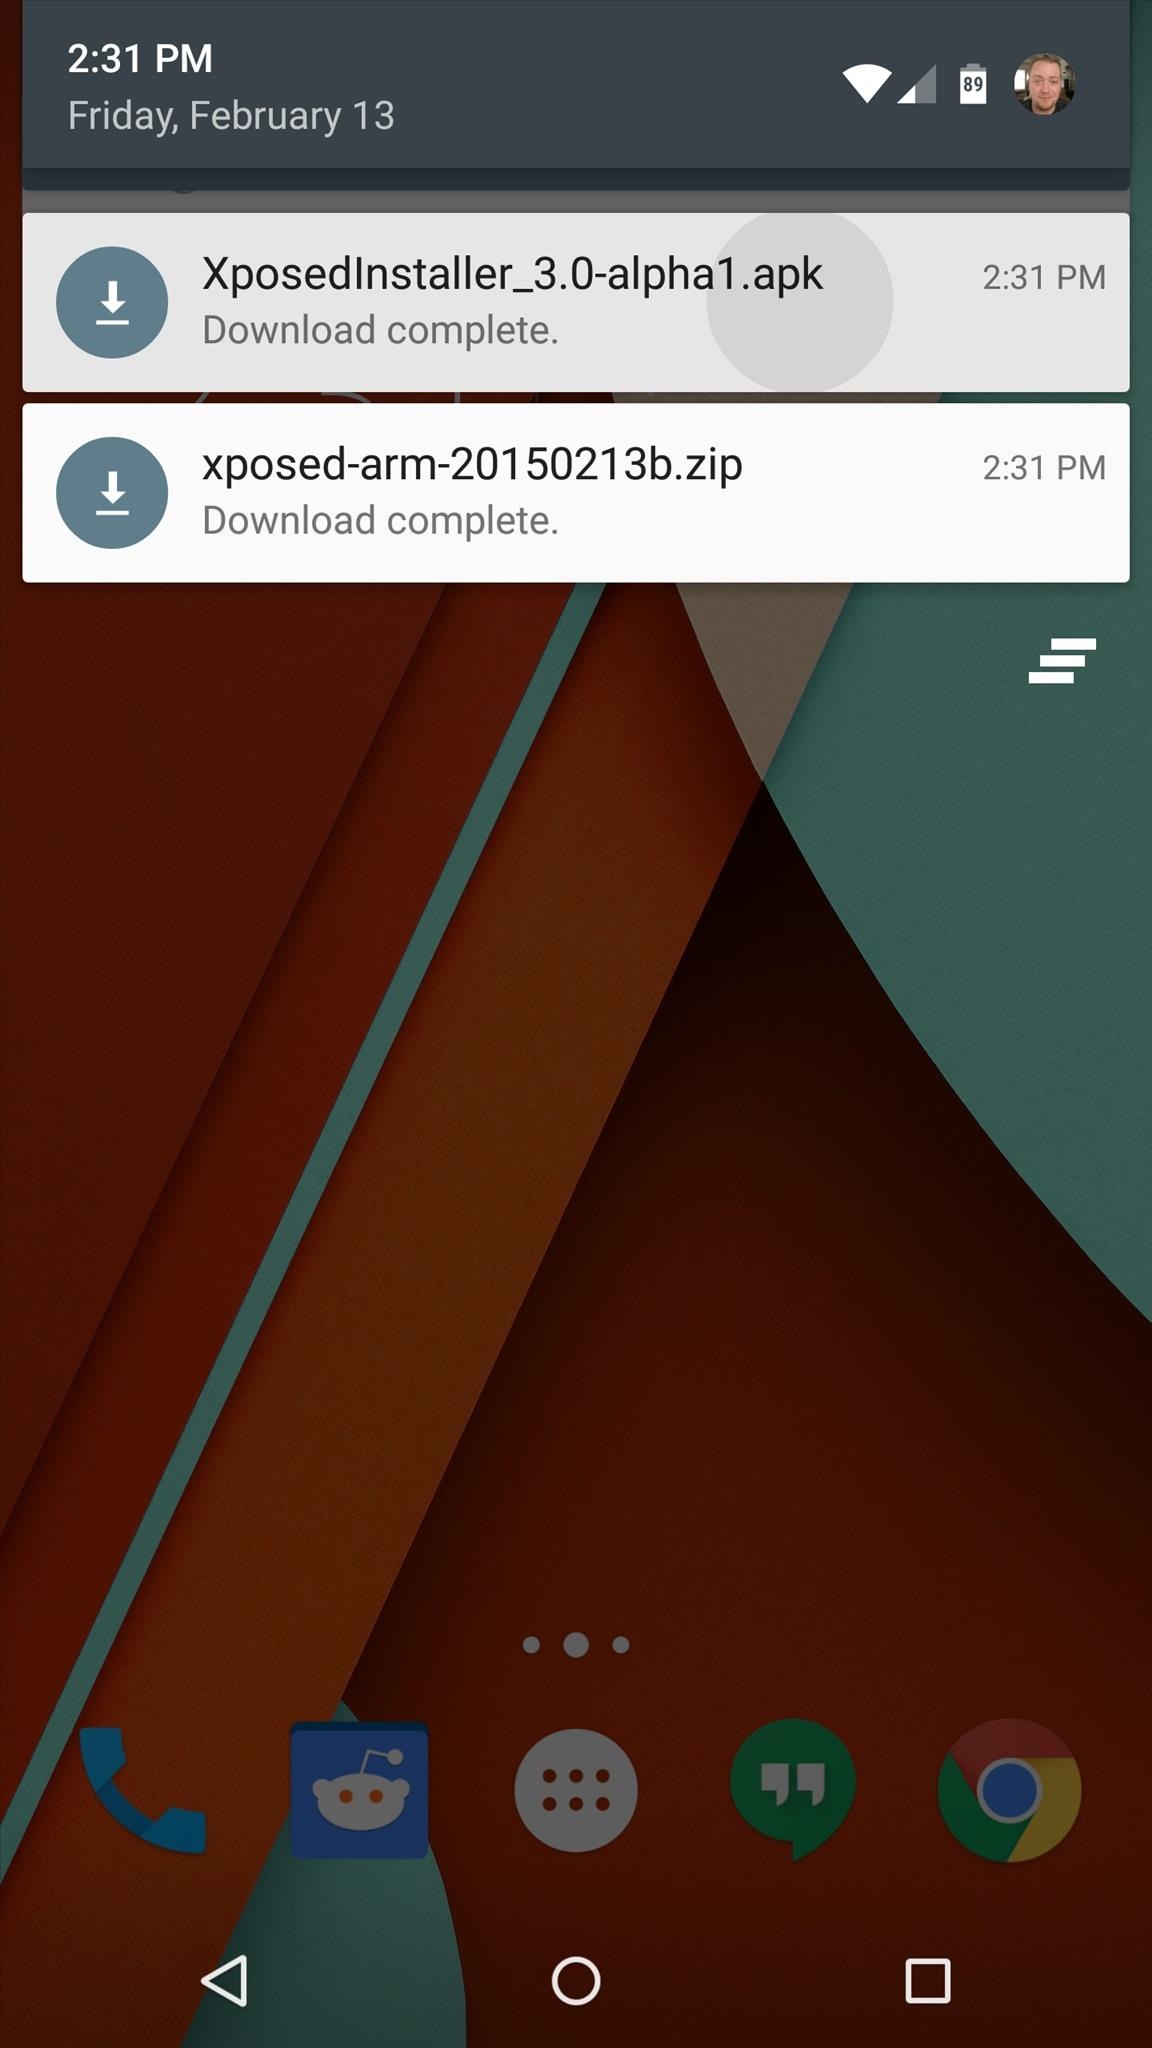
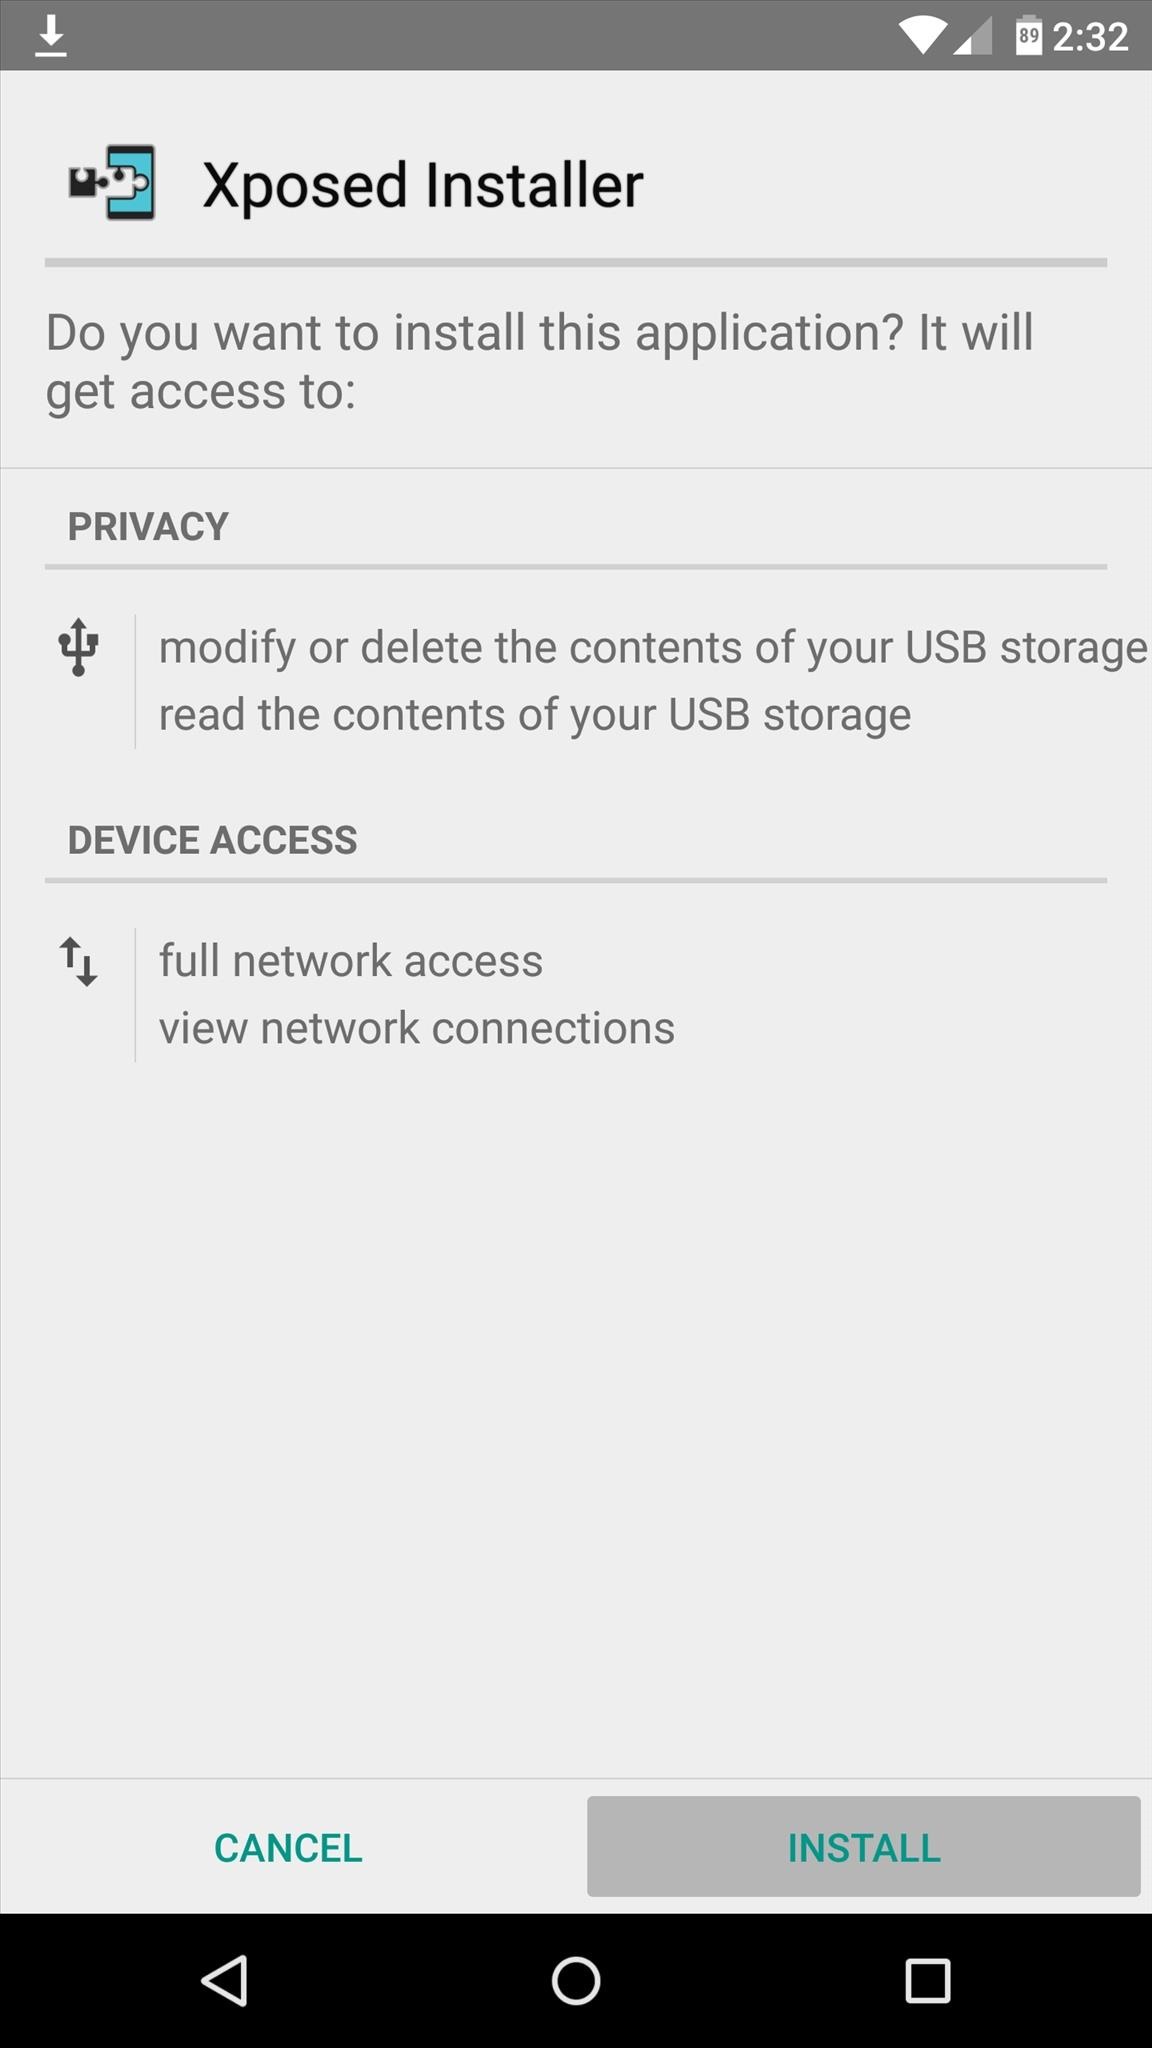
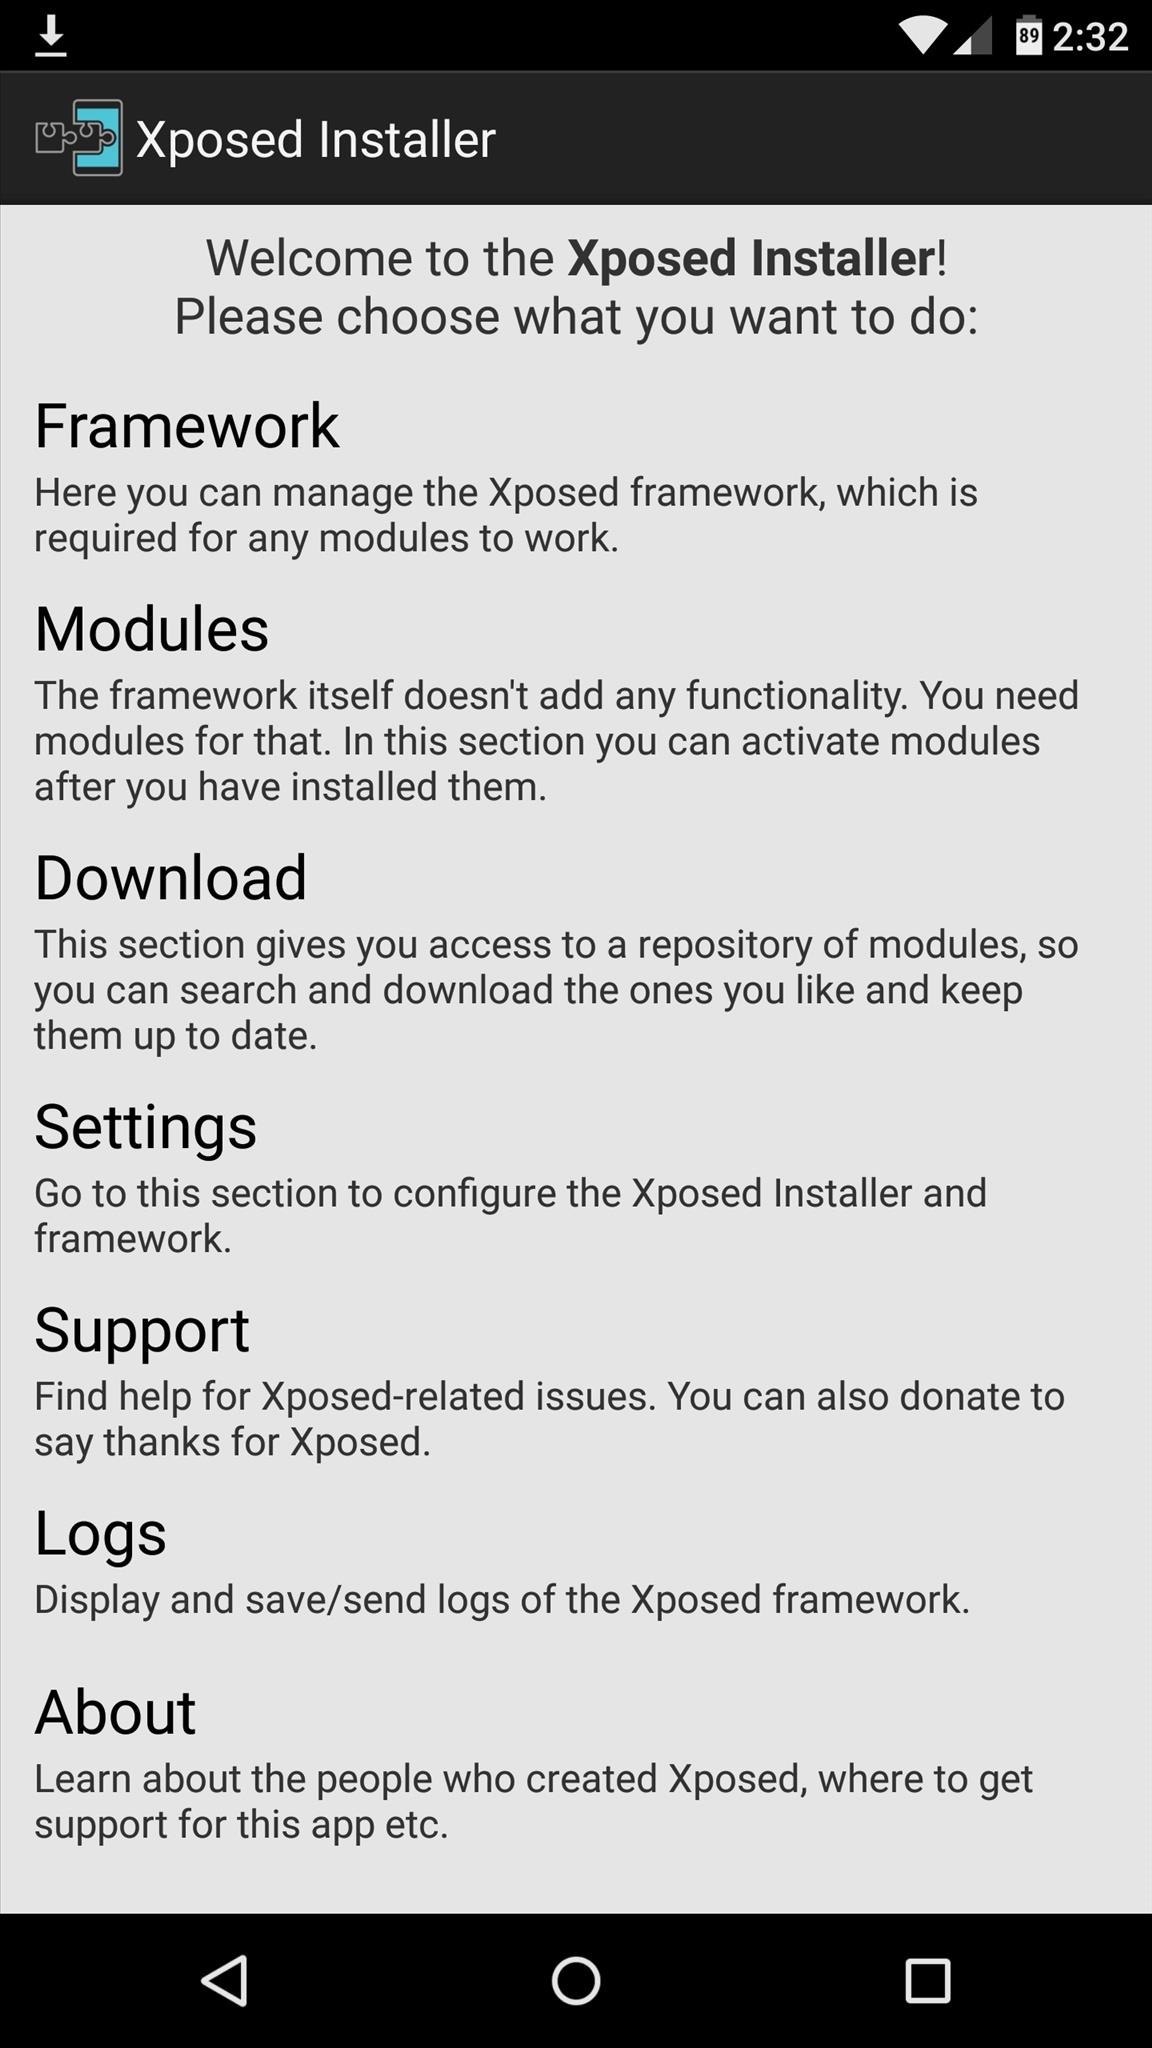
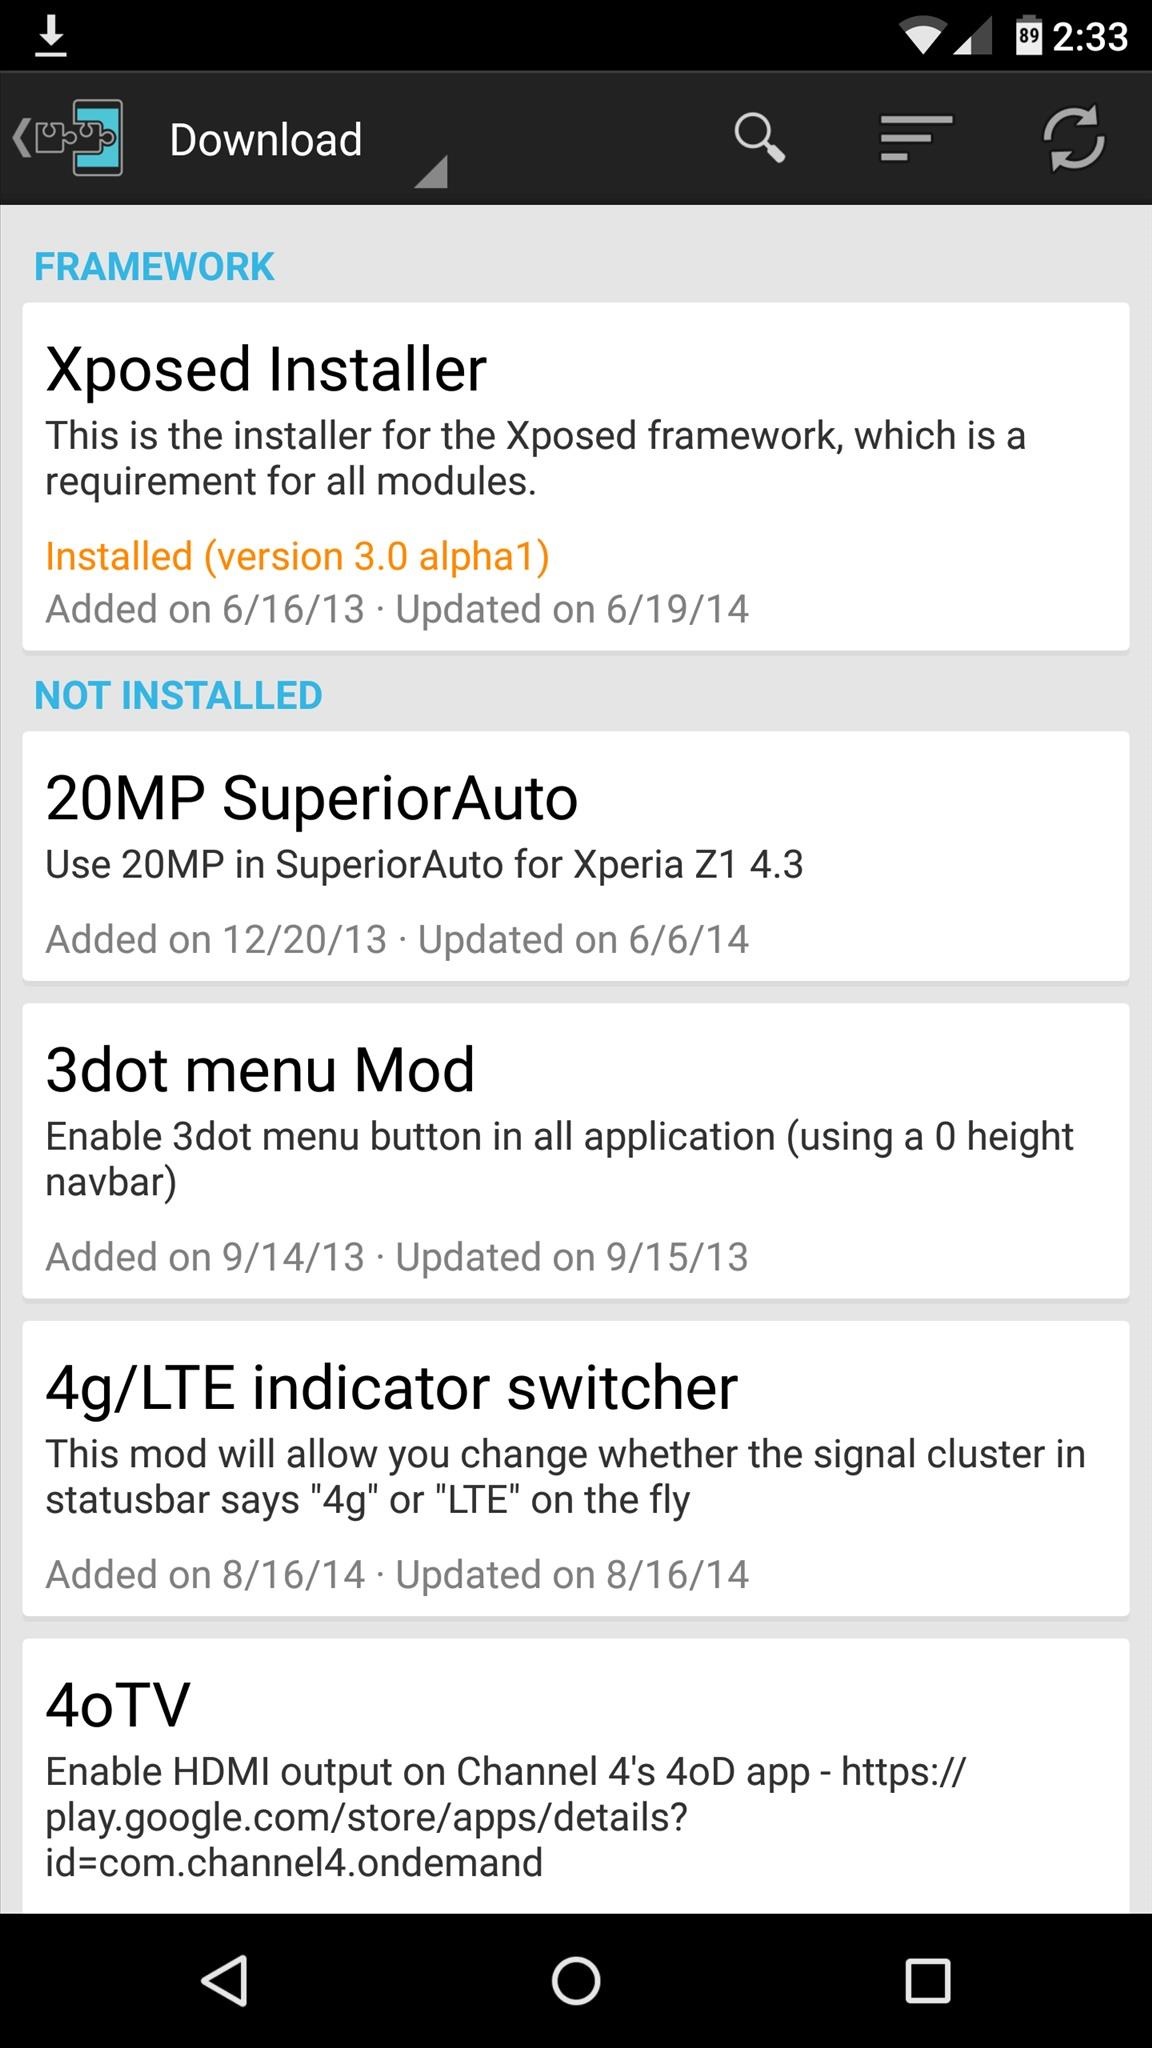
XPOSED
LINK
SUPER SU LOVERS FLASH THIS :
LINK
QUICK BOOT
LINK


.jpg "How to Flash Custom Roms on Gionee M2 using CTR Recovery | With Screenshots")
.jpg "How to Flash Custom Roms on Gionee M2 using CTR Recovery | With Screenshots")
.jpg "How to Flash Custom Roms on Gionee M2 using CTR Recovery | With Screenshots")
.jpg "How to Flash Custom Roms on Gionee M2 using CTR Recovery | With Screenshots")
.jpg "How to Flash Custom Roms on Gionee M2 using CTR Recovery | With Screenshots")